Visual effects are more accessible and versatile than ever—but there’s no substitute for quality practical effects. This article is about a quest to avoid digital effects that led me to build a full-scale WWII fighter plane cockpit for a 90-second Internet video.
Making of Mustang
Sometimes you just have to go for it, and by the summer of 2018, I seemed to have exhausted all other options. Designing and building a full-scale, gimbaled WWII fighter plane cockpit and instrument panel mockup was so far afield of anything I had attempted before that it seemed impossibly out of reach. Yet I couldn’t come up with another way to get the shots I wanted.
- A real Mustang on the ground? Static lighting and too many anachronisms.
- In the air? Too expensive, unwieldy, and hard to mount a camera.
- An existing Mustang cockpit mockup? I couldn’t find one with all the features I needed.
- A CGI cockpit? I don’t think so!
No, the only way to get the shots I wanted would be to specially build a gimbaled cockpit mockup—and on my budget, I’d have to do it myself. I didn’t know how I’d get there, or even where to begin. But after months of searching in vain for an alternative approach, I had finally decided that it was necessary.
I would wind up spending the next 10 months poring over old engineering drawings, researching related films and period documentaries, designing, stress simulating, redesigning, building, wiring up, programming, and dressing a single prop. All for a 4-hour shoot with the actor, a few pickup shots, and some VFX plates that would be cut into a 90-second finished product. Crazy? Maybe. But I didn’t know what I was getting myself into at the time.

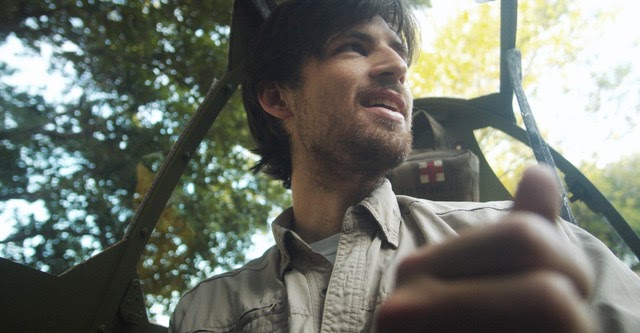
Rewinding for a bit, the idea for the project came up in the summer of 2017. I had put together a handful of book promos for novelist and historian John J. Dwyer over the preceding years—each one more elaborate than the last—and for his latest novel, we wanted to do something a little different. Mustang tells the story of Mennonite farm boy Lance Roark, who leaves his small town and pacifist upbringing to join the USAAF in the fight against the Axis powers—and eventually, become an ace fighter pilot. Instead of a movie trailer-inspired approach, we decided to go with something shorter and more abstract, leaning heavily on visuals, period music, and scenes from the book.
What really pushed the complexity of this project over the edge, though, was our shared enthusiasm for Dunkirk. Seeing Dunkirk in spectacular 70mm IMAX had left me glowing with enthusiasm over the refreshingly tactile physicality it achieved—across the board, but particularly in the dogfight sequences. In my estimation, Dunkirk raised the bar for fighter cockpit scenes and exposed where many other films—even films with massive budgets—had fallen short. So when we began tossing around ideas for Mustang I immediately thought, “OK, we’re going to do something with a cockpit.”
Building a gimbaled fighter plane cockpit
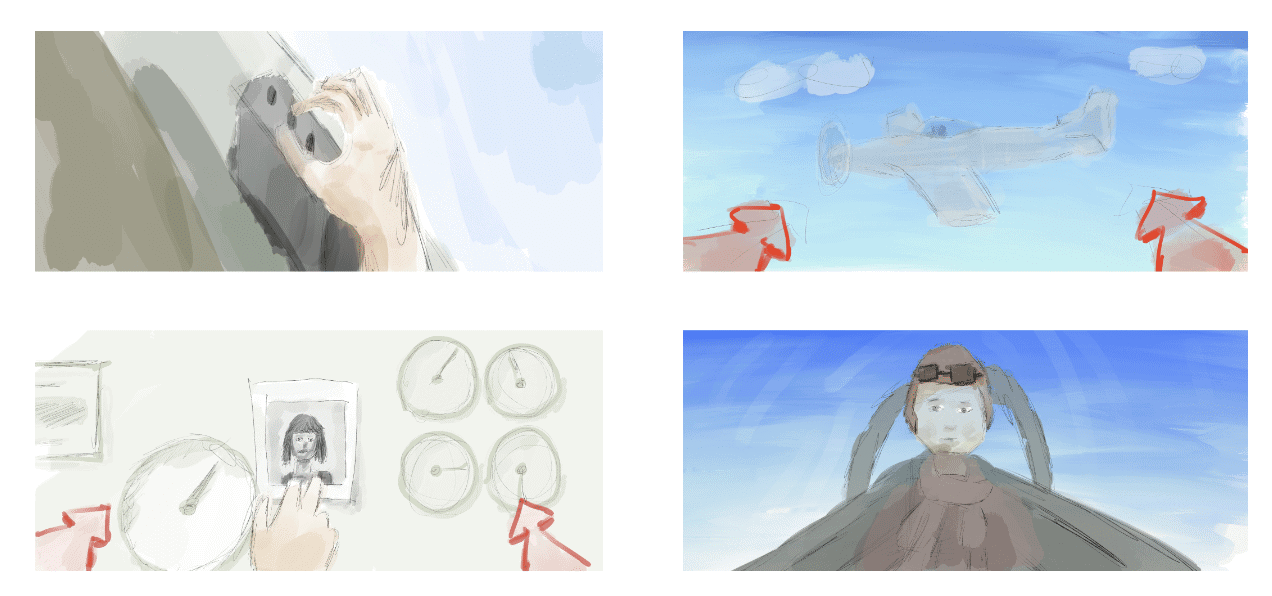
At first, I had no idea this would involve actually building one; I was under the impression that I could get away with simply shooting in a real P-51 on the ground in front of a green screen. But by the time I had storyboarded the sequence and secured permission to film in a couple of Mustang cockpits, I realized there were several big problems with this approach:
- Most P-51s flying today have somewhat obvious anachronisms that would have shown up in the shots I needed—modern instruments and lack of the prominent reflector gunsight being the two main ones.
- The instrument panel was going to feature fairly prominently, and the instruments on a real airplane would have been distractingly still if we were shooting on the ground.
- While the scene didn’t require the lighting to change all that much over time, I was concerned that a 100% static orientation of the sun/sky with respect to the cockpit would have been a dead giveaway that we were shooting on the ground.
- It would have been risky to rig up a backdrop and other equipment in a short amount of time around someone else’s multimillion-dollar aircraft / priceless historical artifact.
- Even if I could otherwise manage the lavish expense and complicated logistics of shooting in a real flying Mustang, I’d still face issues mounting the camera, dealing with obvious postwar modifications, and so on.

Having reflected on all that, I would likely have abandoned the project at this point—except for two things. First, I had read about a technique used by production designer Nathan Crowley, Christopher Nolan, the folks at Scroggins Aviation, and the rest of the Dunkirk crew where they had built this manually-operated, gimbaled Spitfire cockpit that could be setup on some bluffs overlooking the ocean. Somehow this low-tech solution seemed much more accessible than a cockpit mockup on a hydraulic motion base. Second, I had recently seen a short film by Andrew Finch called Others Will Follow (a “Short of the Week” selection), for which he built his own spaceship set—along with a bunch of other insanely impressive stuff.
I had no fabrication experience going into this, and would probably have dismissed the cockpit idea out-of-hand were it not for Andrew’s example. It should go without saying that I did not simply assume that I would succeed in pulling off a gimbaled Mustang cockpit just because of Andrew’s space-ship-building success—but crucially, it did make me think, “Maybe it isn’t impossible.” And so, after weeks of searching in vain for an easier way, I did the only thing left for me to do—I took a great plunge into the unknown.
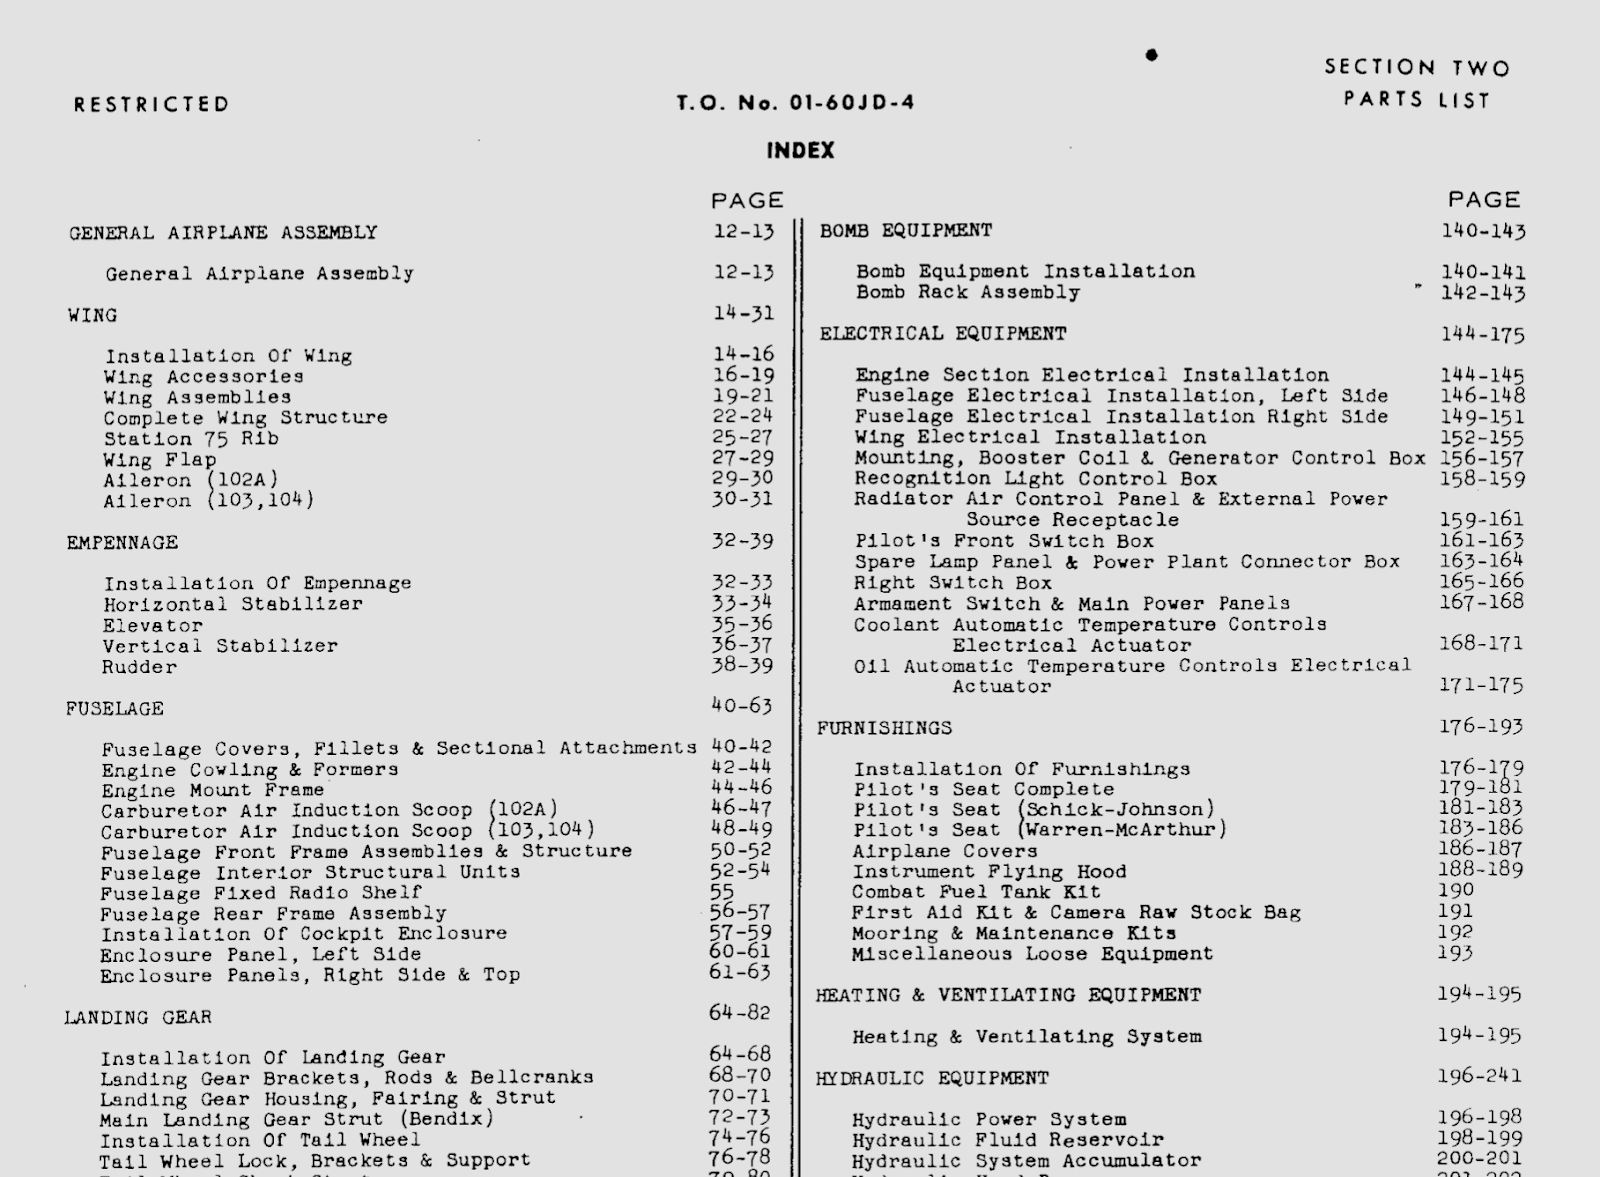
Now to give you some idea as to just how much of a plunge this was, you need to know that I had never used CAD software before, or worked with engineering drawings, or picked up a welding torch, or worked in a machine shop, a metal shop, a woodshop, or an electronics lab, or even walked into a metal or aviation supply store. Naively, I thought CAD would be easy because I was somewhat comfortable with polygonal modeling for CGI, and I imagined fabricating a structure with a welding torch would be pretty much like using a big glue gun. In short, I knew just enough to take the first step, and I thought (well, hoped) that the rest would fall into place easily enough. Boy, was I wrong.
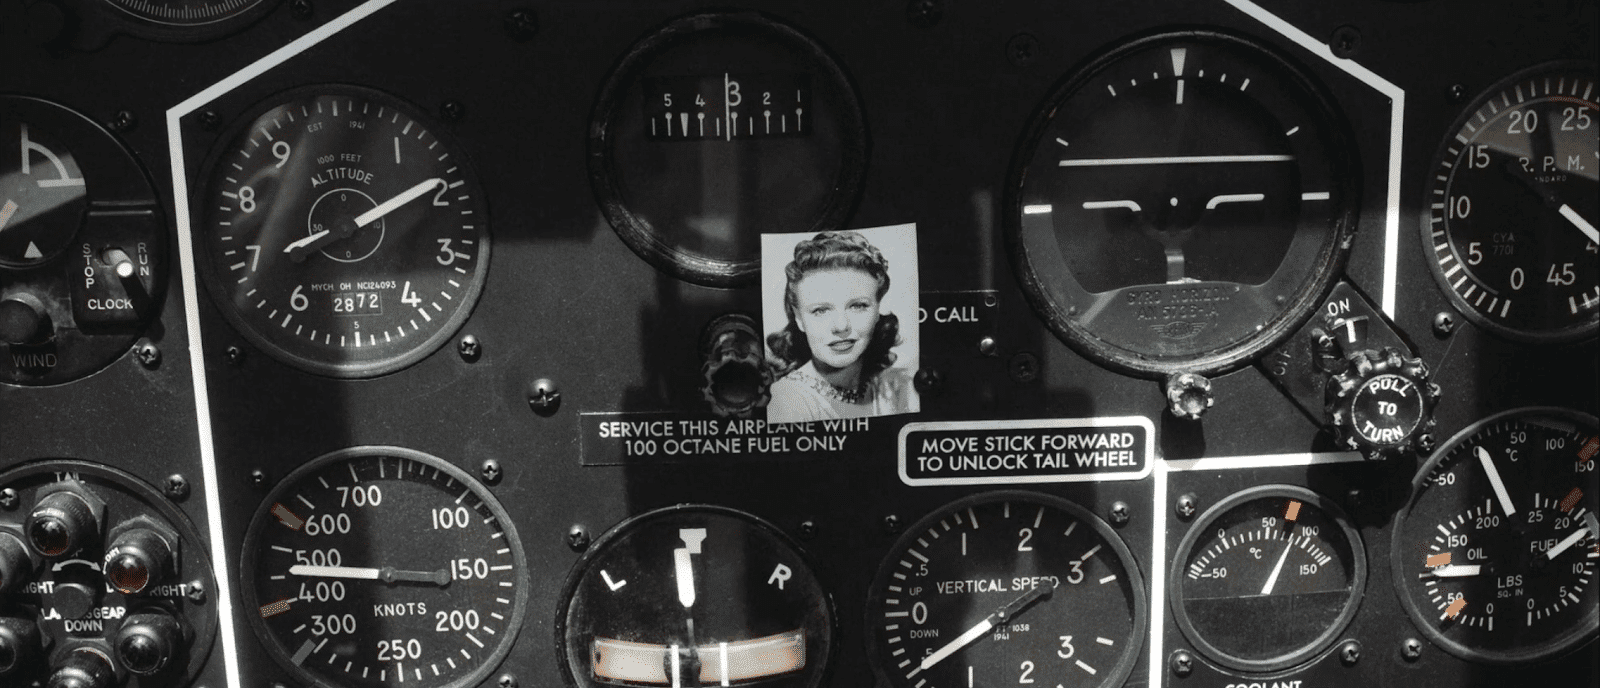
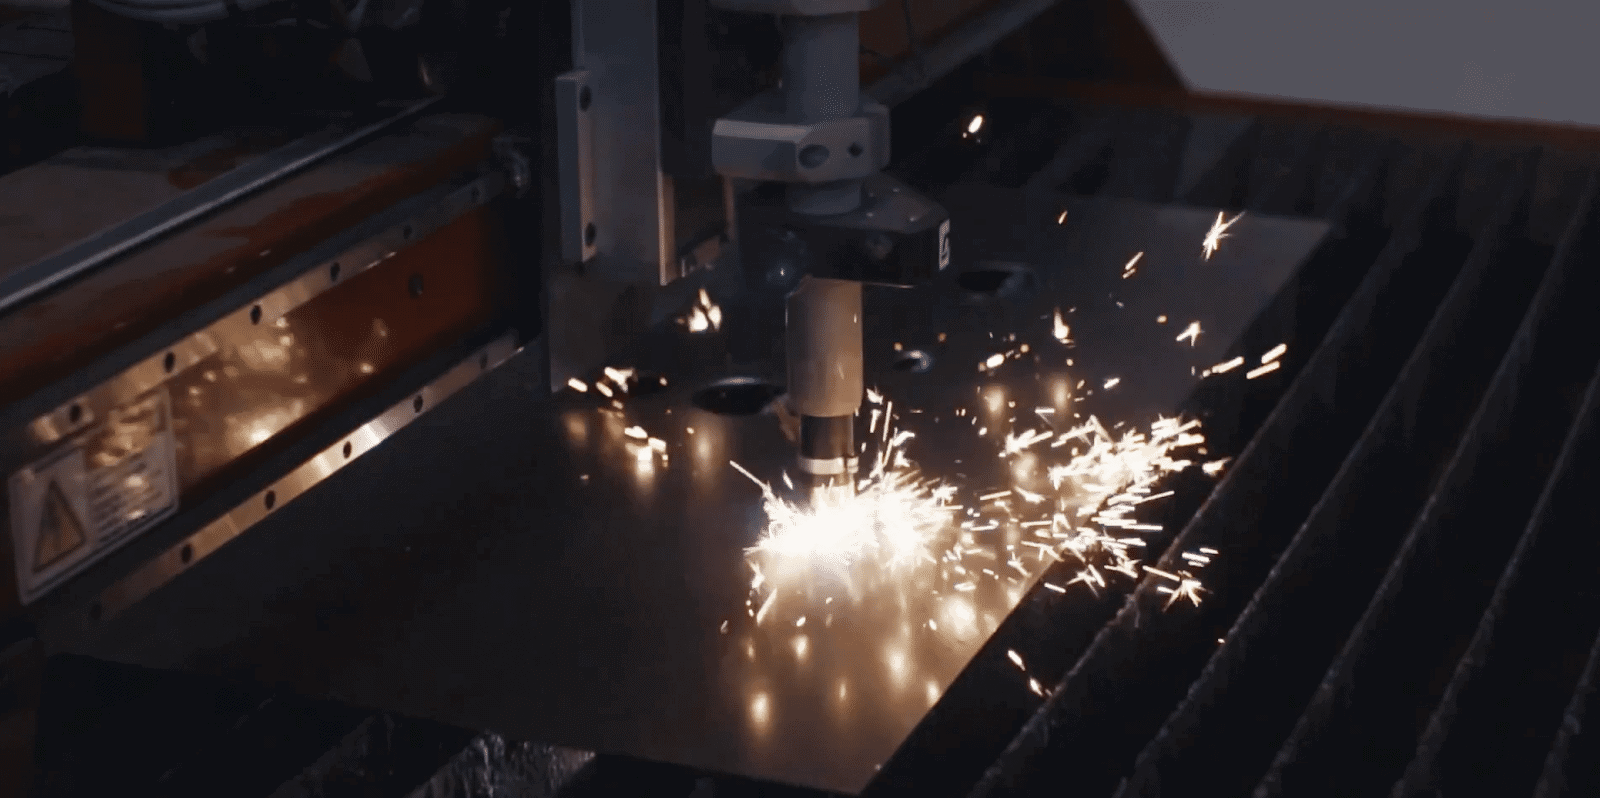
I joined a local makerspace to solve a major tool shortage problem that became apparent around this time, and began working on the instrument panel. Since Finch was a friend of a friend, I was able to get in contact with him. He had advised me that this would likely be the hardest piece, but it was also least intimidating to me due to its relatively small size—so it seemed a good place to start. After a month or two (and a few failed prototypes), I wound up with a working panel.
Since I was going to be mounting the cockpit on a gimbal, I realized I could use real, working instruments—in some cases, with no modifications. This was convenient both because these instruments would have been among the hardest to fabricate and because I would automatically get perfect coordination between, for instance, the artificial horizon, the turn and slip indicator, and shifts in lighting direction relative to the panel.
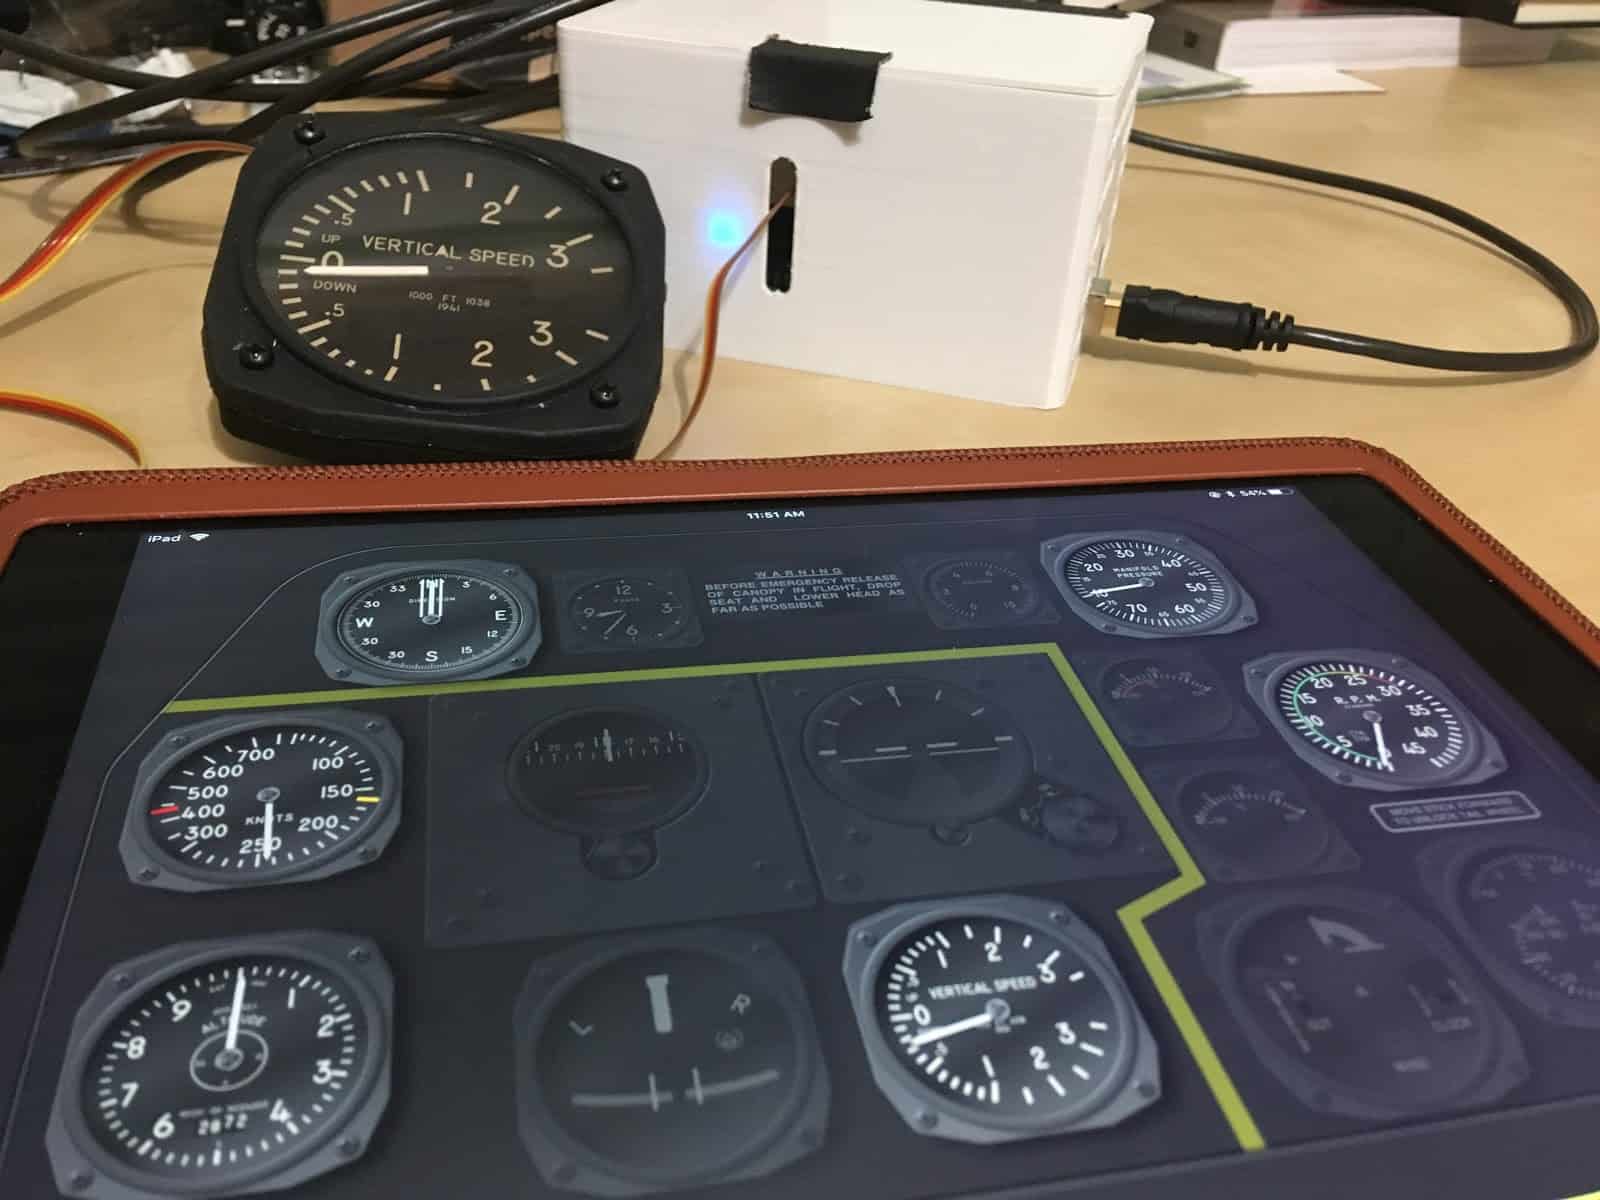
Six of the instruments were 3D-printed custom mockups with laser-cut acrylic “glass” and repurposed car gauge motors powered by a custom-built Bluetooth control box and controlled by an iPad app. (The iPad app might seem unnecessary, but it allowed me to easily adjust instrument behavior on the fly.)
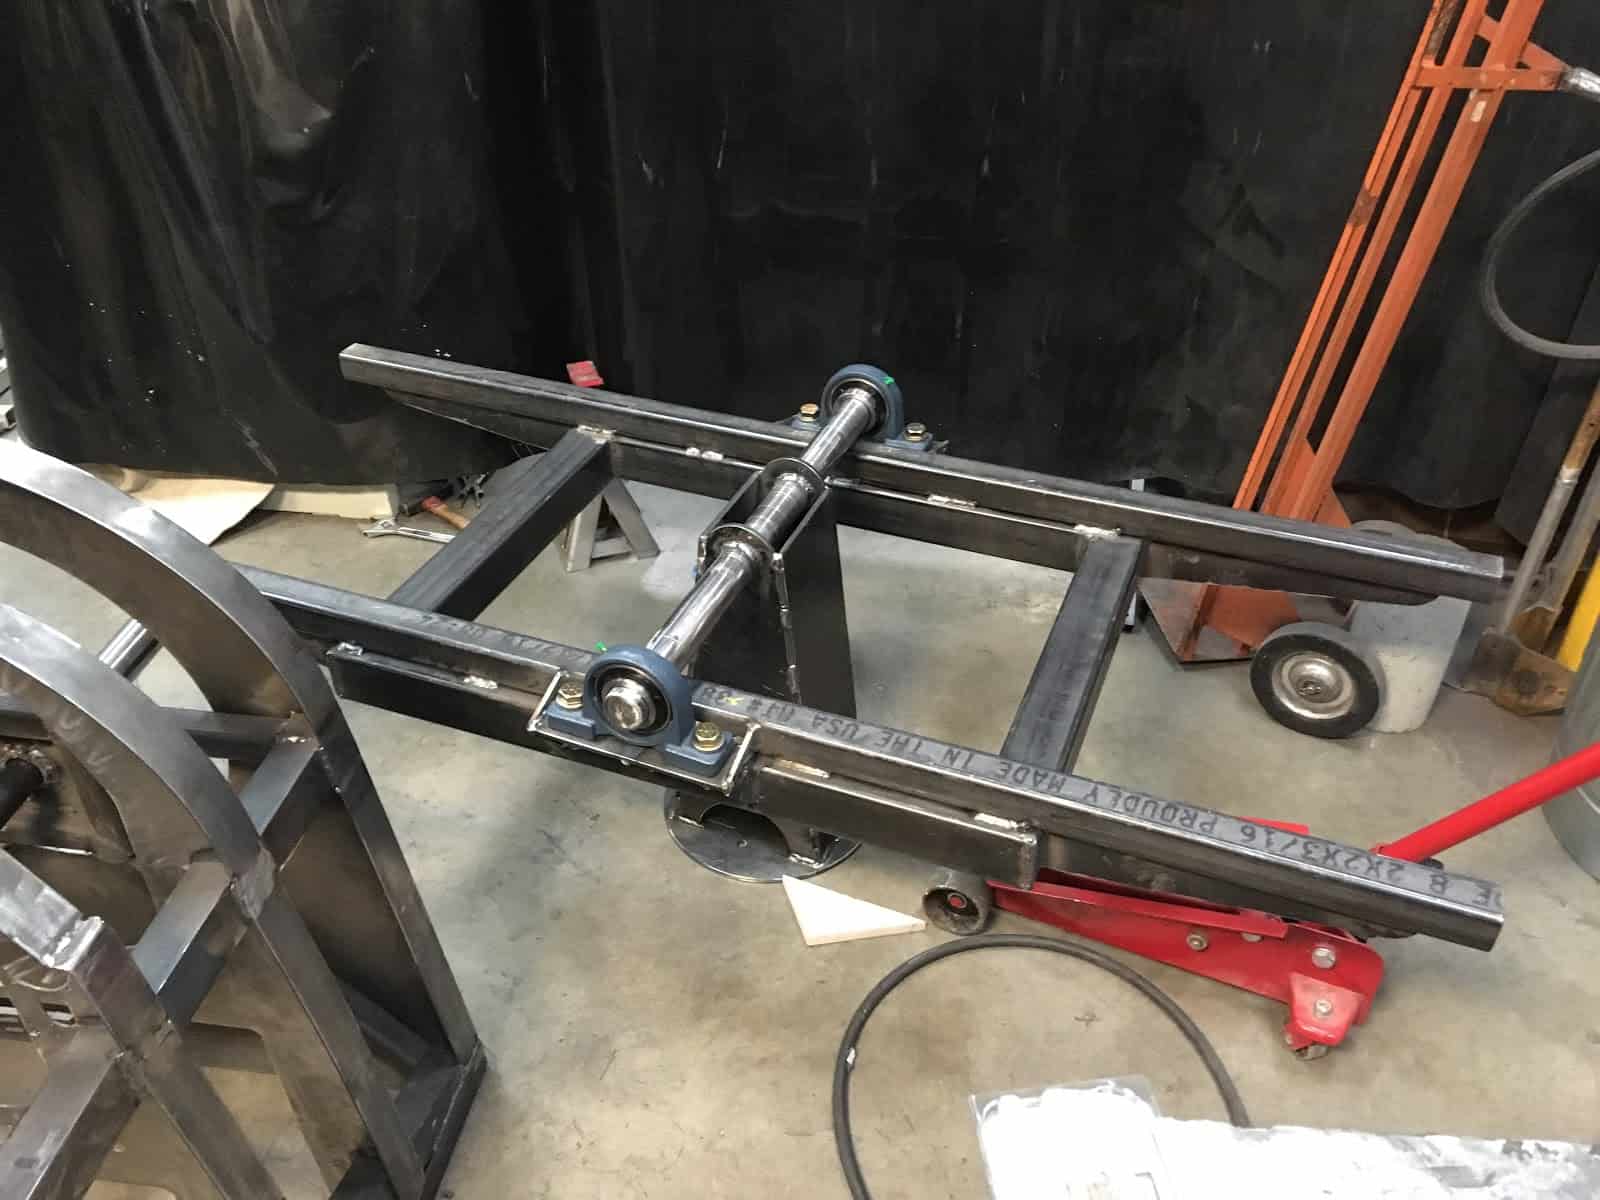
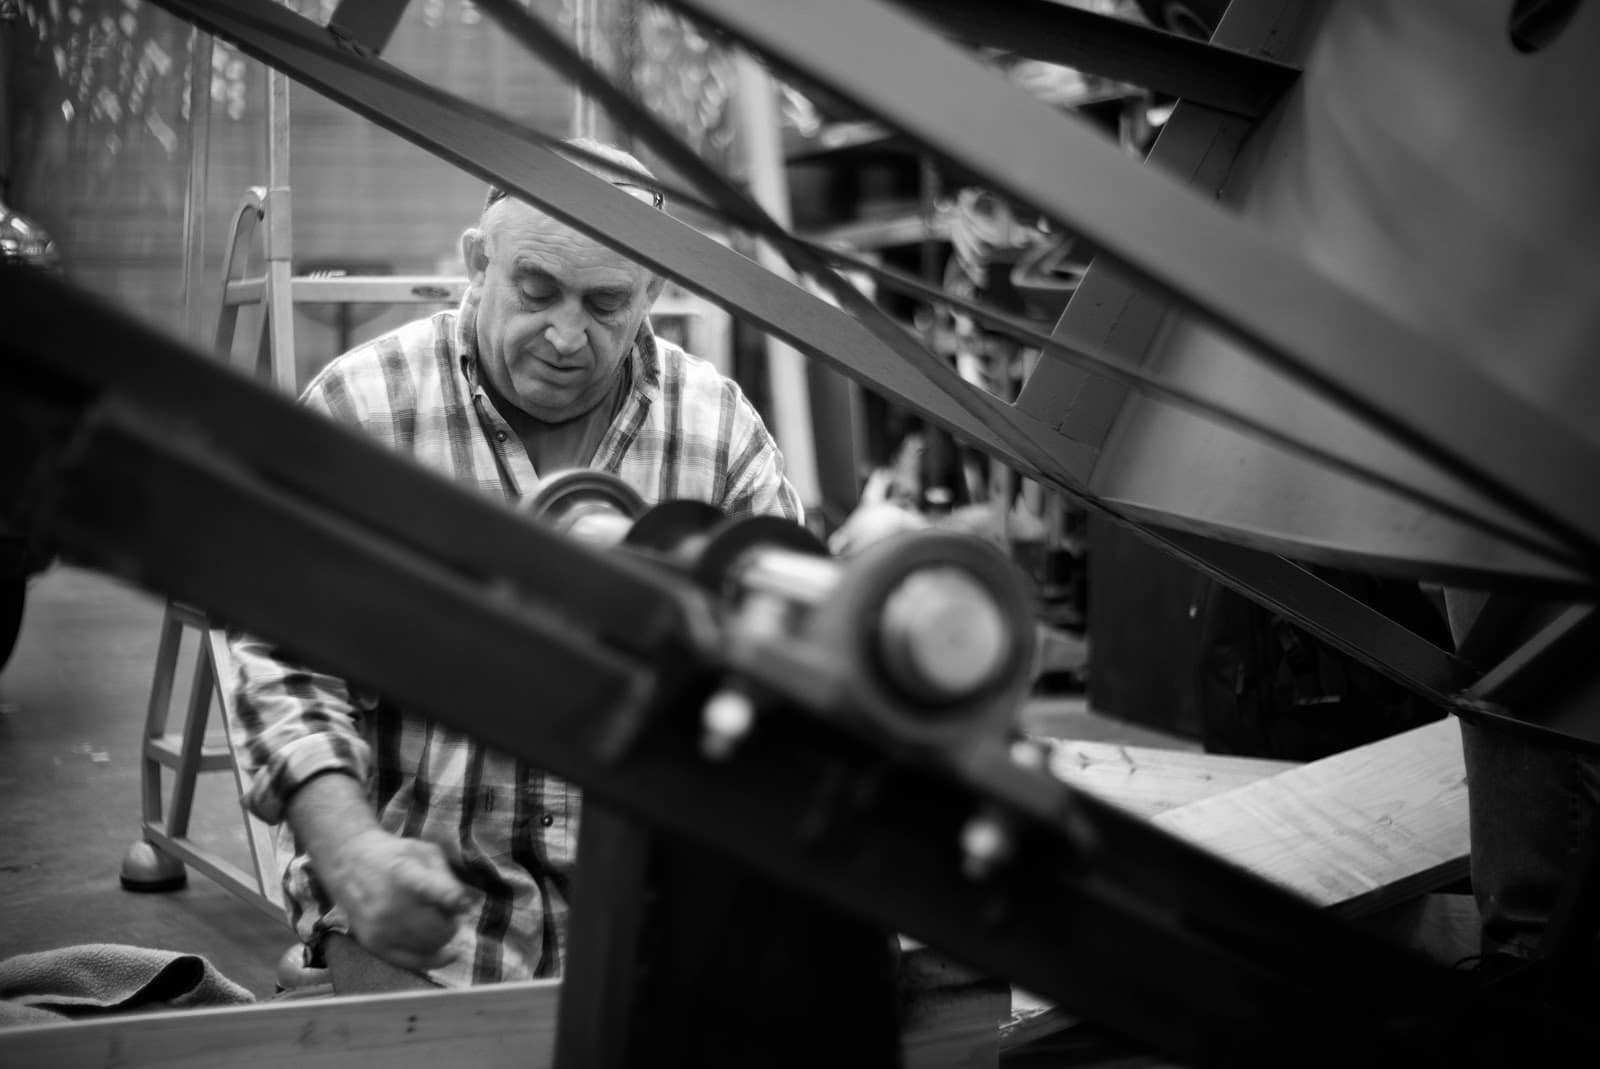
About two or three more months after finishing the instrument panel, I had finally pieced together what I felt was a plausible design for the cockpit and gimbal. As I mentioned, I was completely new to most of this stuff—and the viability of the project was saved many times over by insights, suggestions, and tips from fellow Dallas Makerspace members with knowledge in fields ranging from machining, to metallurgy, to sculpting, to electronics, to mechanical engineering.
In particular, fabricator David Schirato of Electric Monkey Garage was overwhelmingly generous with his time, hard work, and expertise. Besides helping out on long days and late nights, David proved an invaluable source of knowledge about the craft of sourcing, measuring, cutting, and assembling metal—and I’m not sure how I would ever have finished this project without his help.
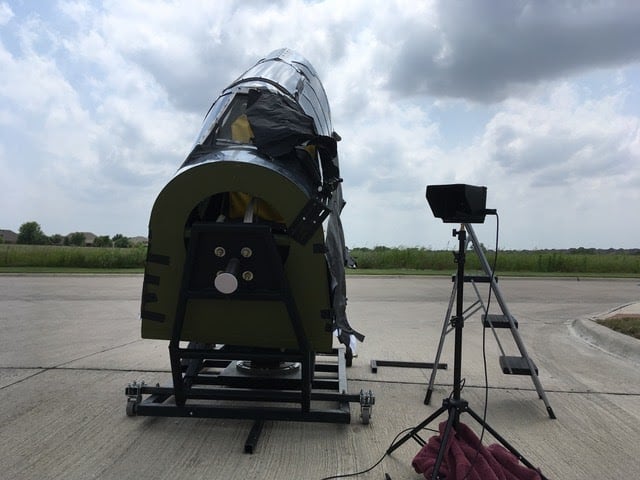
Even with help though, this was not a small project. After an already months-long research and design phase, the cockpit and gimbal took over four more months to complete—but eventually, with the cockpit ready-to-go, I was able to begin conducting camera tests.
Putting it all together
Early on in the project, I became dead set on keeping manipulation in post to a bare minimum—but in the end, I wound up resorting to VFX in quite a few places to fix problems, enhance practical effects, and create some of the exterior scenery.
Of course, the main point of building the gimbaled cockpit was that it would provide rear-facing shots of the pilot mostly in-camera. But on my budget, I wasn’t going to get a POV through a reflector gunsight flying through the air chasing a smoking Me 109 in-camera—most of the POV shots would have to be some kind of composite. I experimented briefly with front projection—by which I hoped to gain realistic glancing reflections—but green screen turned out to be a better choice in this case since it allowed the use of natural sky for lighting. And as it happens, the most realistic way to light a daytime flying scene is with a daytime sky.
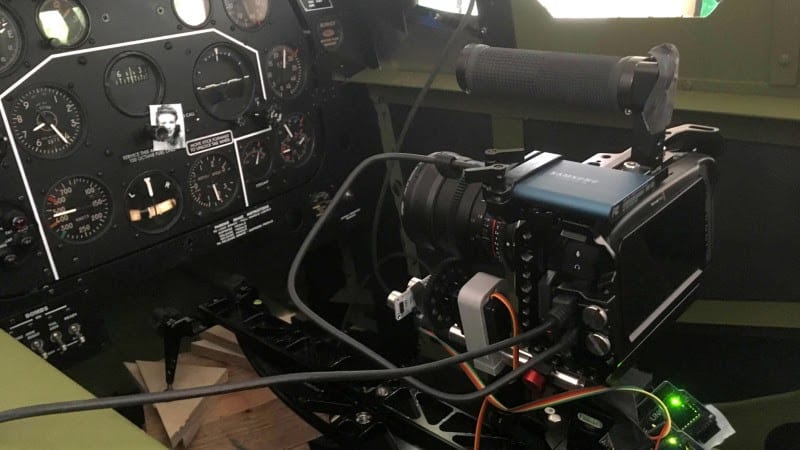
I was still able to get quite a bit in-camera though, even on the green screen shots. One really neat thing that I’m glad worked out is that I was able to find a real, functioning WWII-era reflector gunsight body, mount it into the cockpit, and capture the reflected reticle pattern in-camera. It was a little tricky to composite, but I think the effort paid off versus the alternative of adding it in post. As a bonus, for handheld shots, the reticle doubled as a nice virtual tracking pattern at infinity, which came in handy for integrating the background plate.
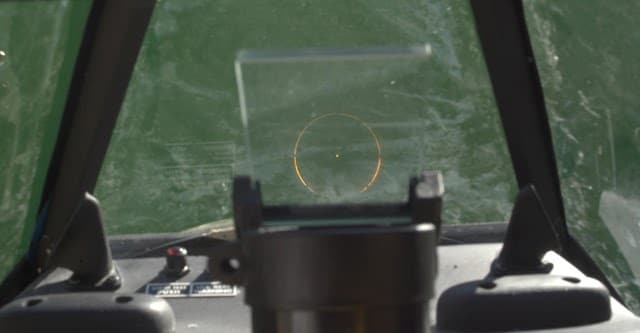
Here’s the finished composite:
For a POV shot showing passing wisps of cloud, I pointed the cockpit skyward, mounted a camera in the cockpit shooting 5fps, and set off white smoke grenades on a windy day.
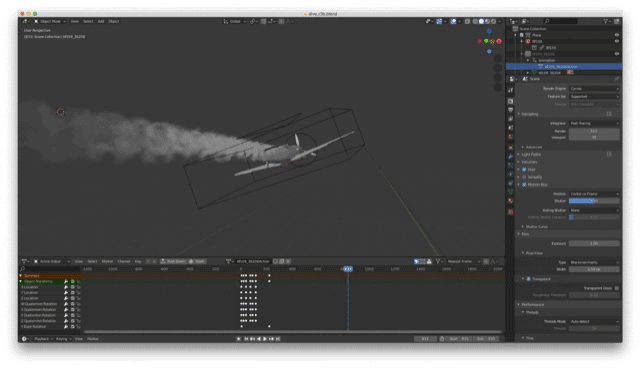
I even explored the idea of using practical birds, but it turns out there are laws against capturing birds in Texas, and I think getting them to fly in the right direction would have been really hard (not to mention possibly inhumane). So I just made them in Blender.
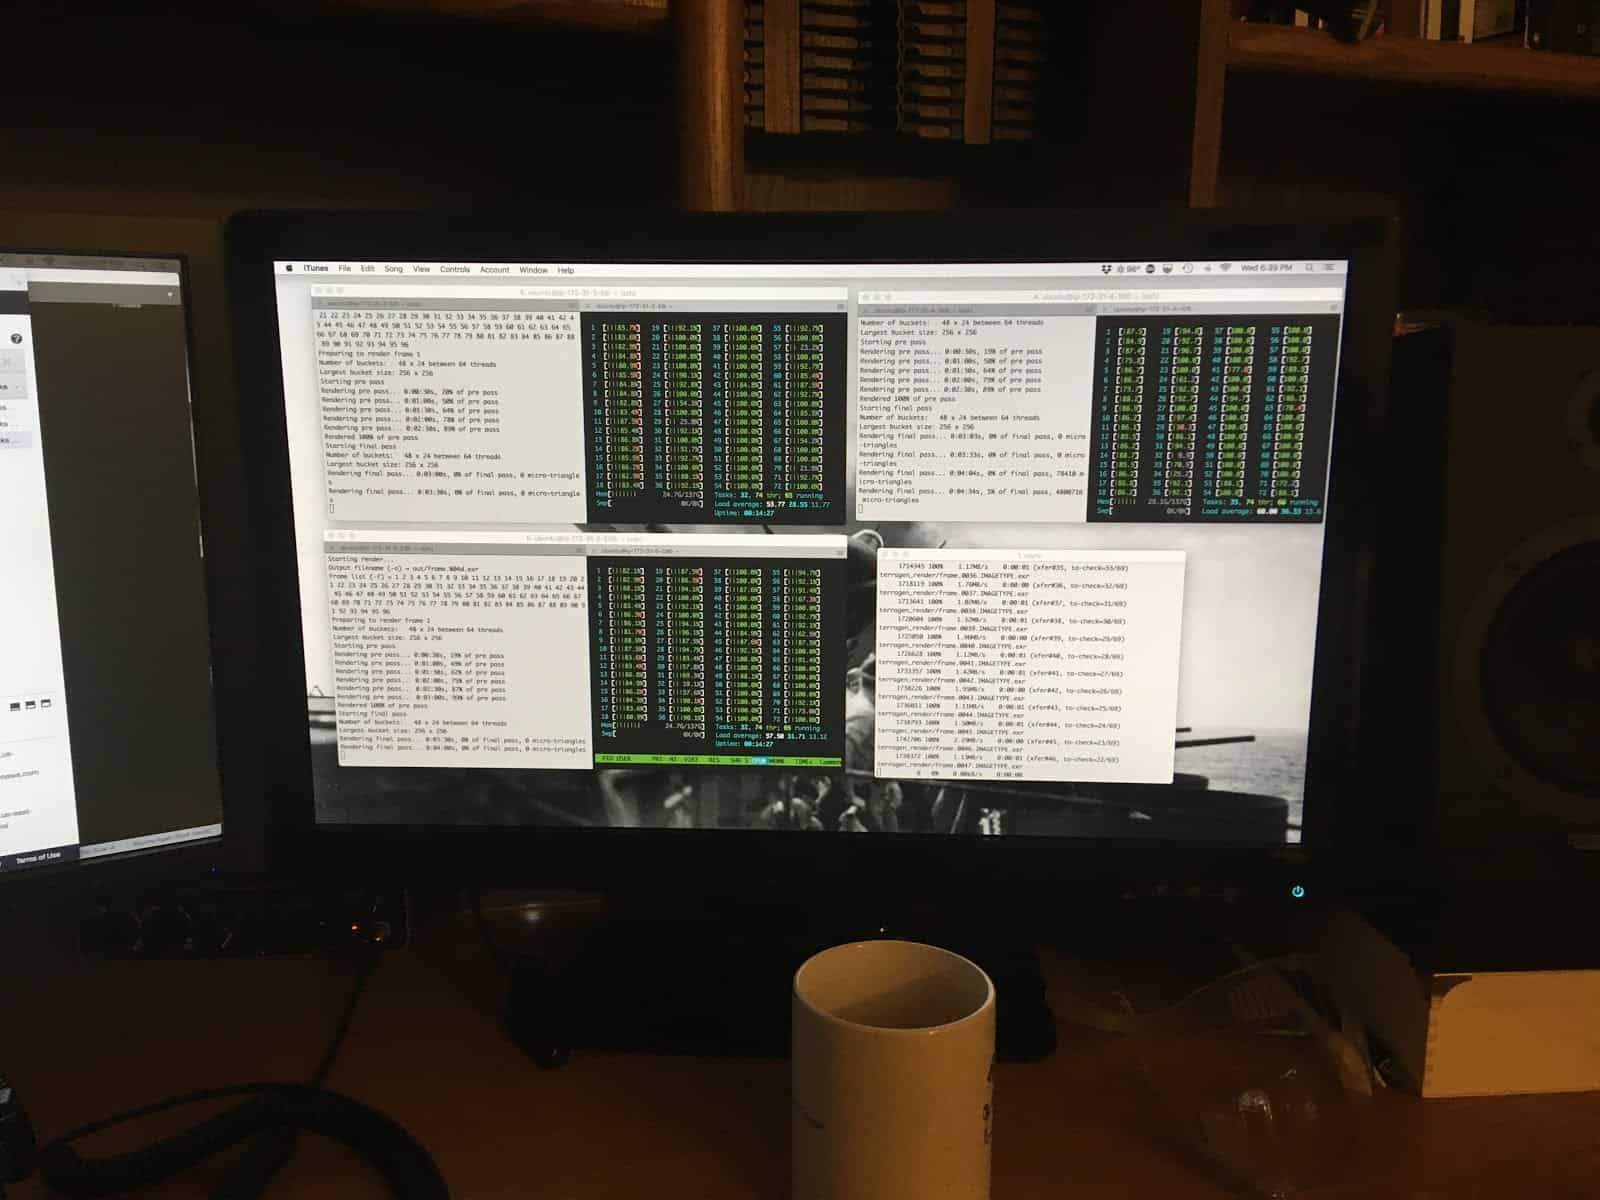
CGI exterior environments were mostly done in Terragen and other elements were animated in Blender and rendered in Cycles and Octane using mostly stock 3D assets. I made use of reference material from Dunkirk, WWII gun camera footage, and William Wyler’s wartime documentary Memphis Belle to get a better feel for how to execute some of these shots, though the final look wound up being dictated as much by my limited animation skills as anything else. (By the way, the recently scanned original 16mm Kodachrome source footage for Memphis Belle—much better-quality than any surviving print—is available for free via The National Archives.)
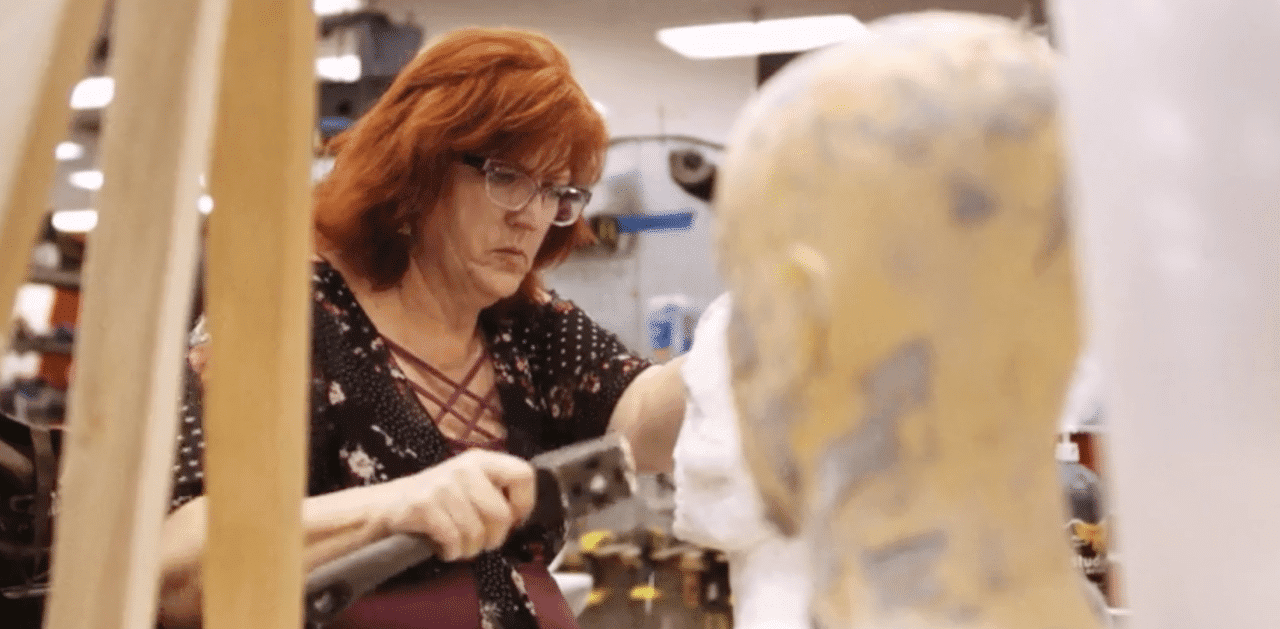
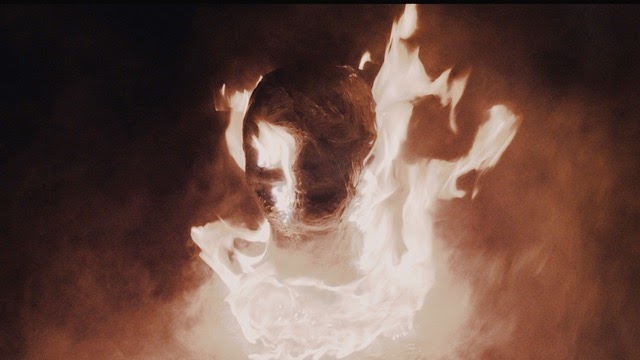
A couple of practical effects shots didn’t involve the use of the cockpit at all but probably ought to be mentioned: the burning corpse and the spontaneously combusting picture. For the burning corpse shot, fellow Makerspace member Kris Anderson sculpted a clay bust of a burnt corpse, cast it in plaster, and coated it in a resin to prevent it from absorbing fuel (so I’d have multiple takes). I used rubber cement painted onto the bust, black smoke grenades, and a flame bar a couple of feet in front of the bust to get the shot. I wanted to rim light the bust to help it stand out more and add more background elements for depth, but this turned out tricker than I expected. I was working in a relatively small space, it was very difficult to predict how the dark smoke would affect the light, and I was already having to line up the timing on several things with only enough smoke grenades for a few takes. So after a couple of takes with badly illuminated smoke, I wound up simplifying this shot and lighting with only the fire.
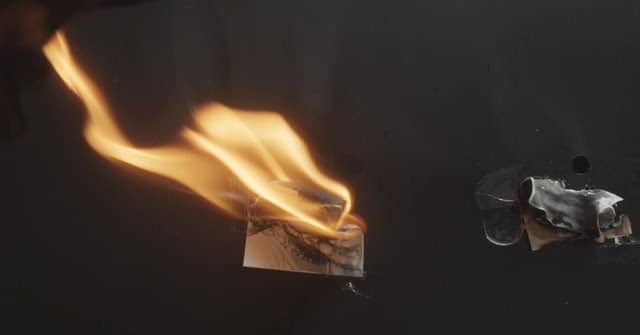
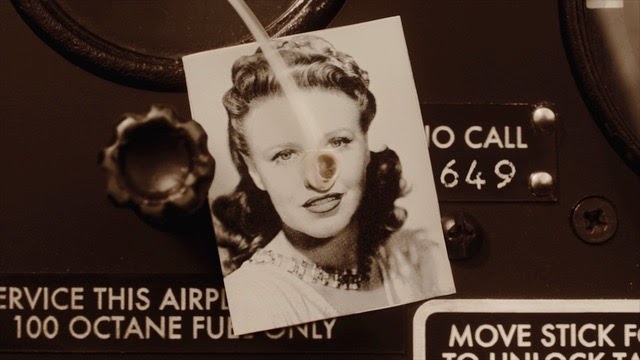
The spontaneously combusting picture was a composite of the detailed instrument panel and a foreground element made with a spare sheet of metal painted black with a hole drilled just behind the picture. I used a propane torch from behind the metal plate to ignite the picture through the hole, and composited in the burning picture over one of the other instrument panel shots. It would have been technically possible to get this shot in-camera, but that would have risked damaging the vintage instruments as well as the surface finish of the panel, meaning multiple takes would have required additional panels.
Lessons learned
The effects took most of my time, and just about every shot has things I would tackle differently next time. But perhaps my biggest takeaway from this project is something that came up after I had finished it—or thought I had. When I asked some friends to be a test audience, absolutely none of them (not one) independently picked up on the main things I thought were essential to the piece working.
For example, there was supposed to be a kind of vague, surreal connection between the girl in the photo, the girl on the radio, and an unusual sequence of events taking place outside the aircraft—and that seemed to be completely lost on viewers. To make matters worse, the identity of the burning corpse, which I intended to be the girl, was usually taken to be the pilot. These may seem like small problems, but there seemed to be a subtle logic to the structure in my head that I thought gave everything a kind of poetic unity. When I finally realized that nobody else was picking up on enough of the cues to form a similar mental picture, I couldn’t figure out what was left to hold the piece together.
In retrospect, I think this was to be expected due to the short length of the piece, the kinds of things I was hoping to convey, the complete lack of dialogue, the high complexity of producing each shot, and my own lack of experience. When living and breathing a project for any extended amount of time, some loss of perspective is inevitable—and in my case, I think the problem was particularly acute due to the extreme work time to runtime ratio (somewhere around four days per second) and the fact that I was doing most of the work for each shot myself. That loss of perspective is one cost I definitely didn’t budget for.
For all my tendency to think you can save money by doing things yourself, this was not an inexpensive excursion, nor did it take anything less than an extravagant amount of time. A year later, it’s hard to see how the 90-second finished piece by itself could justify over a year of work—but harder still to put a price on lessons learned and people met along the way. Sometimes, when the work ahead seemed especially daunting or when progress became unbearably slow, I couldn’t help but wonder whether I had taken things too far.
In the end though, I don’t regret it. Who knows—the cockpit may see a second life someday. But for now, I’m satisfied with what I managed to pull off given what I had to work with. And I sure did learn a lot!


