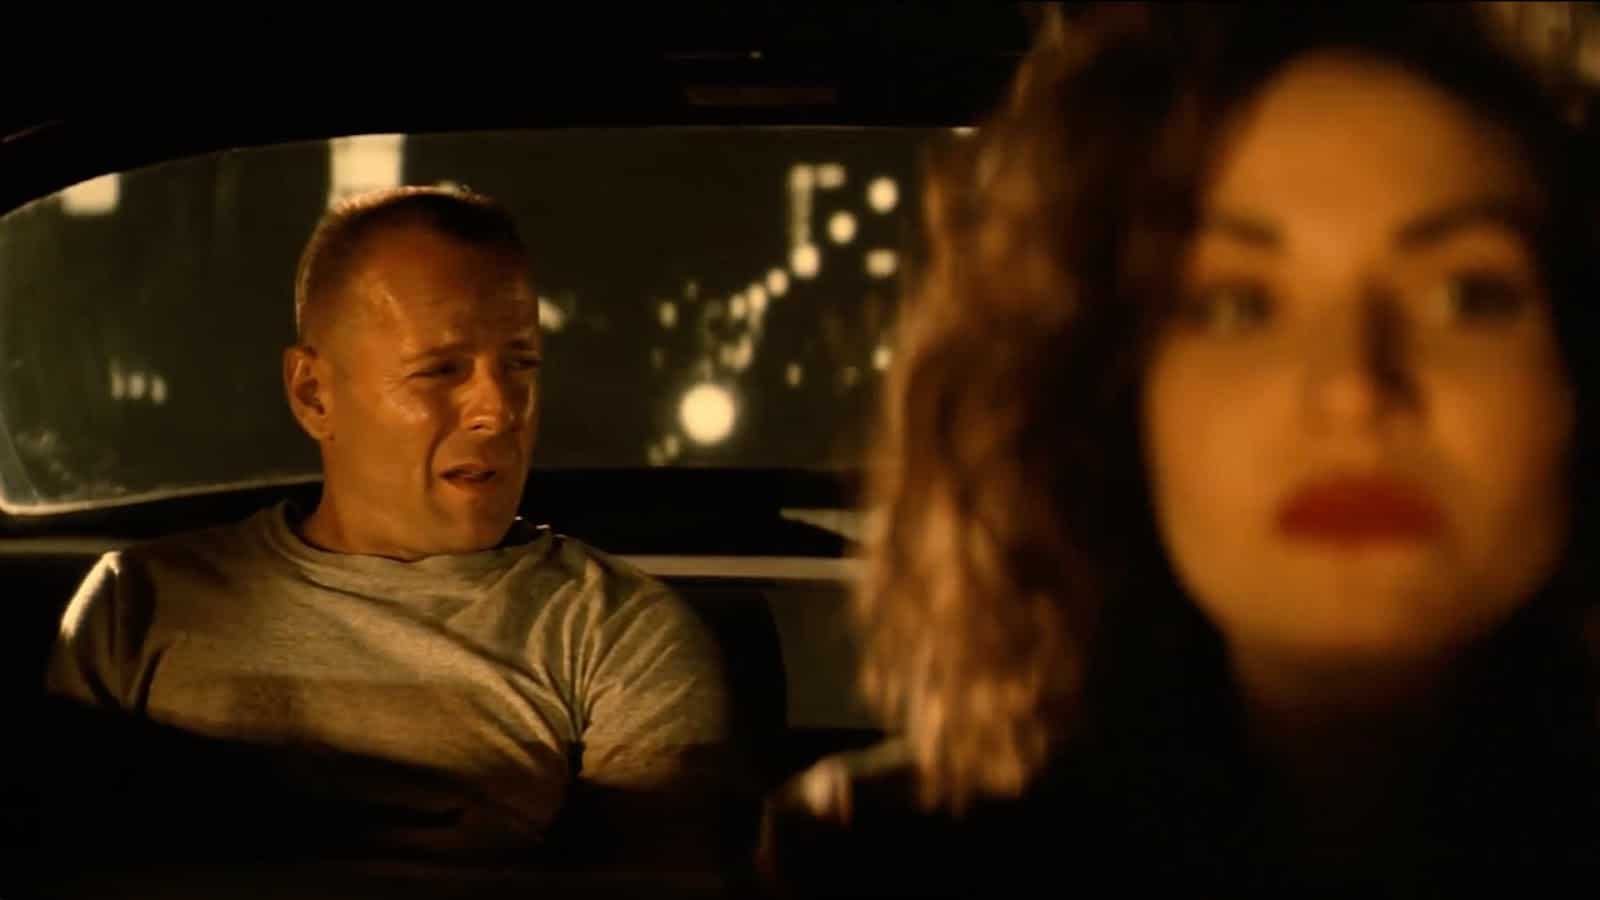
A couple of weeks ago I was watching Pulp Fiction (again) and I made a mental note about an aspect of that film I always found interesting. The scene where Bruce Willis’ character, Butch the Boxer, is in a cab and it’s obvious that the background of the city passing by is fake. I always thought it was green screen. But, as I learned from today’s episode of Film Riot, it was actually a projected image. In this case, a rear projected image of passing traffic (there’s another similar scene in the film with John Travolta’s Vincent Vega driving while high).
I’m used to seeing these kinds of scenes in older movies like the car chase scene in Dr. No.
I also remember starring in a “movie” myself when visiting Universal Studios Hollywood Tour and being the lucky kid chosen to help demonstrate this “groundbreaking” effect. (I think they used rear projection. Or was it a green screen example. I forget. It was a long time ago).
As Ryan points out in the episode, the history of the effect dates back to the early 20th century, with films like the 1930’s film Liliom and the 1920 film Just Imagine.
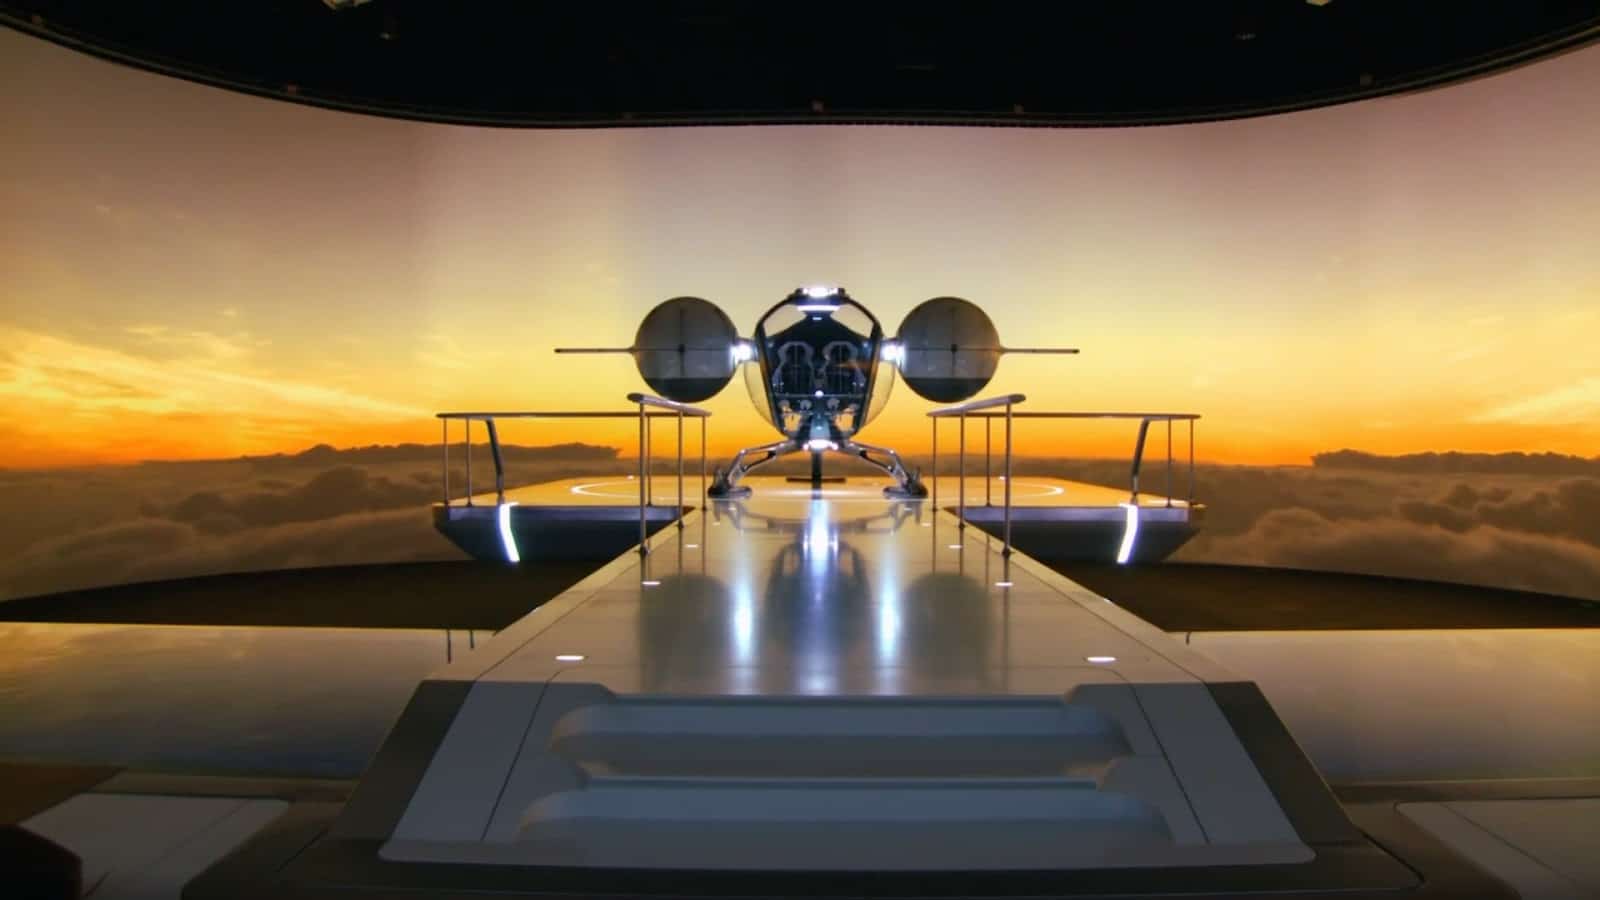
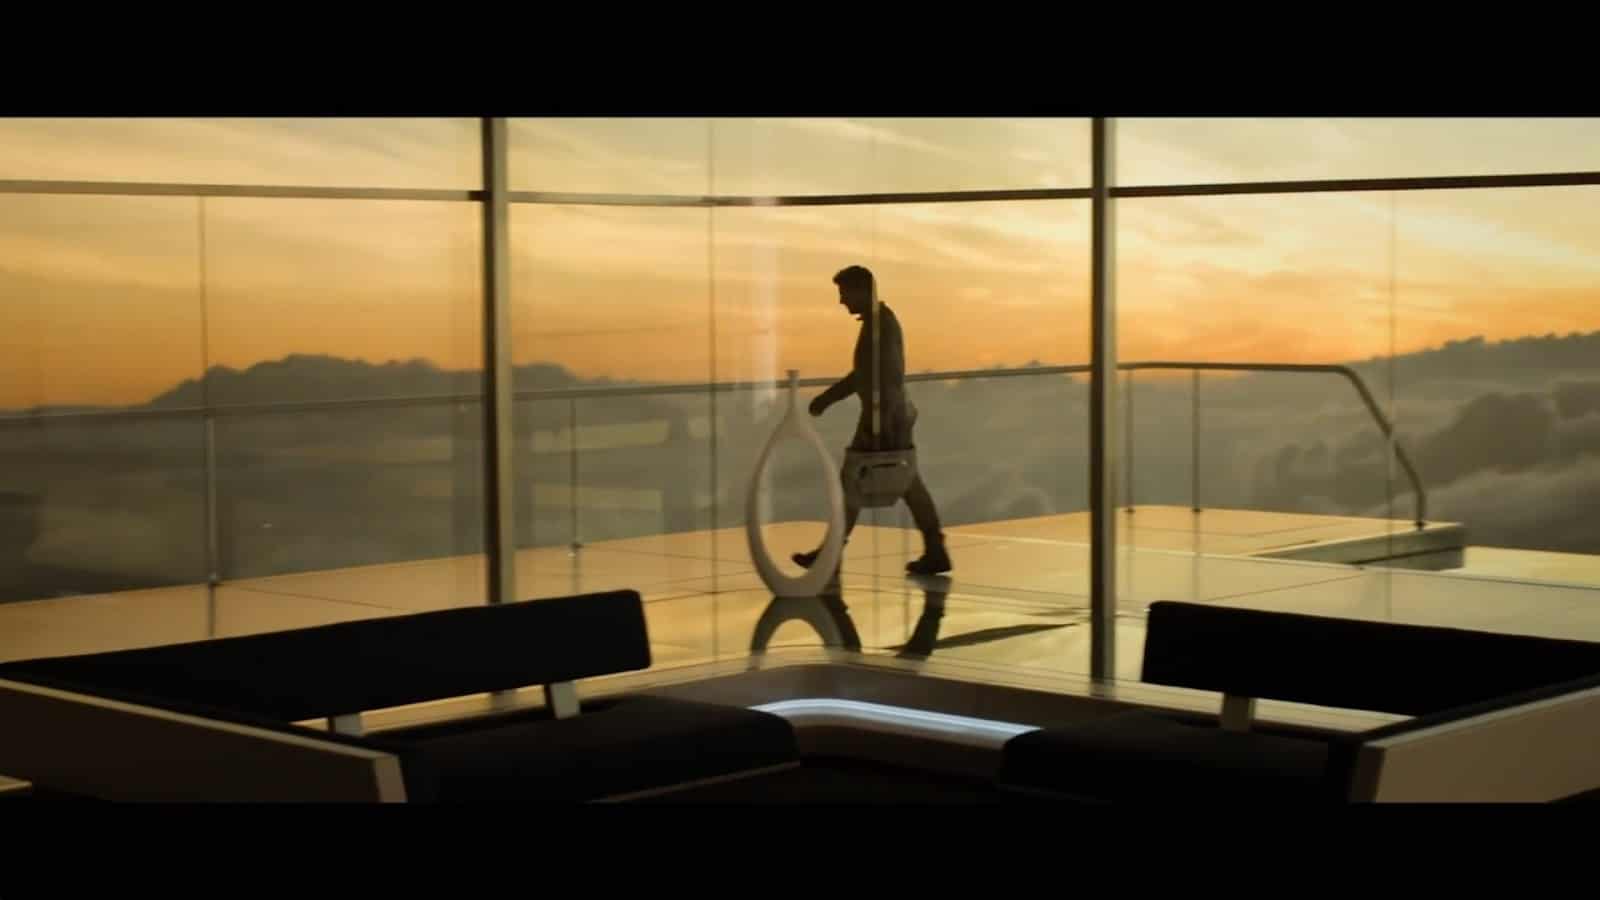
But you might be surprised at how many contemporary productions you’ve seen that used front or rear projection in lieu of green screen. Movies like Terminator 2, Oblivion, and Aliens, to modern TV shows like Disney+’s The Mandalorian.
You may ask yourself, “With the advancements like green screen and blue screen, why would anyone want to use front or rear projection?” There are a few practical benefits. First and foremost, there’s reduced post-production time. You don’t have to key out anything and then key in a new background. You also don’t have to deal with the pain of keying out hair.
Second, having a practical “effect” like front or rear projection on set, gives you more flexibility in lighting the subject and camera movement.
Ryan’s experiment with Emily and a beautiful, “blue hour” front projection.
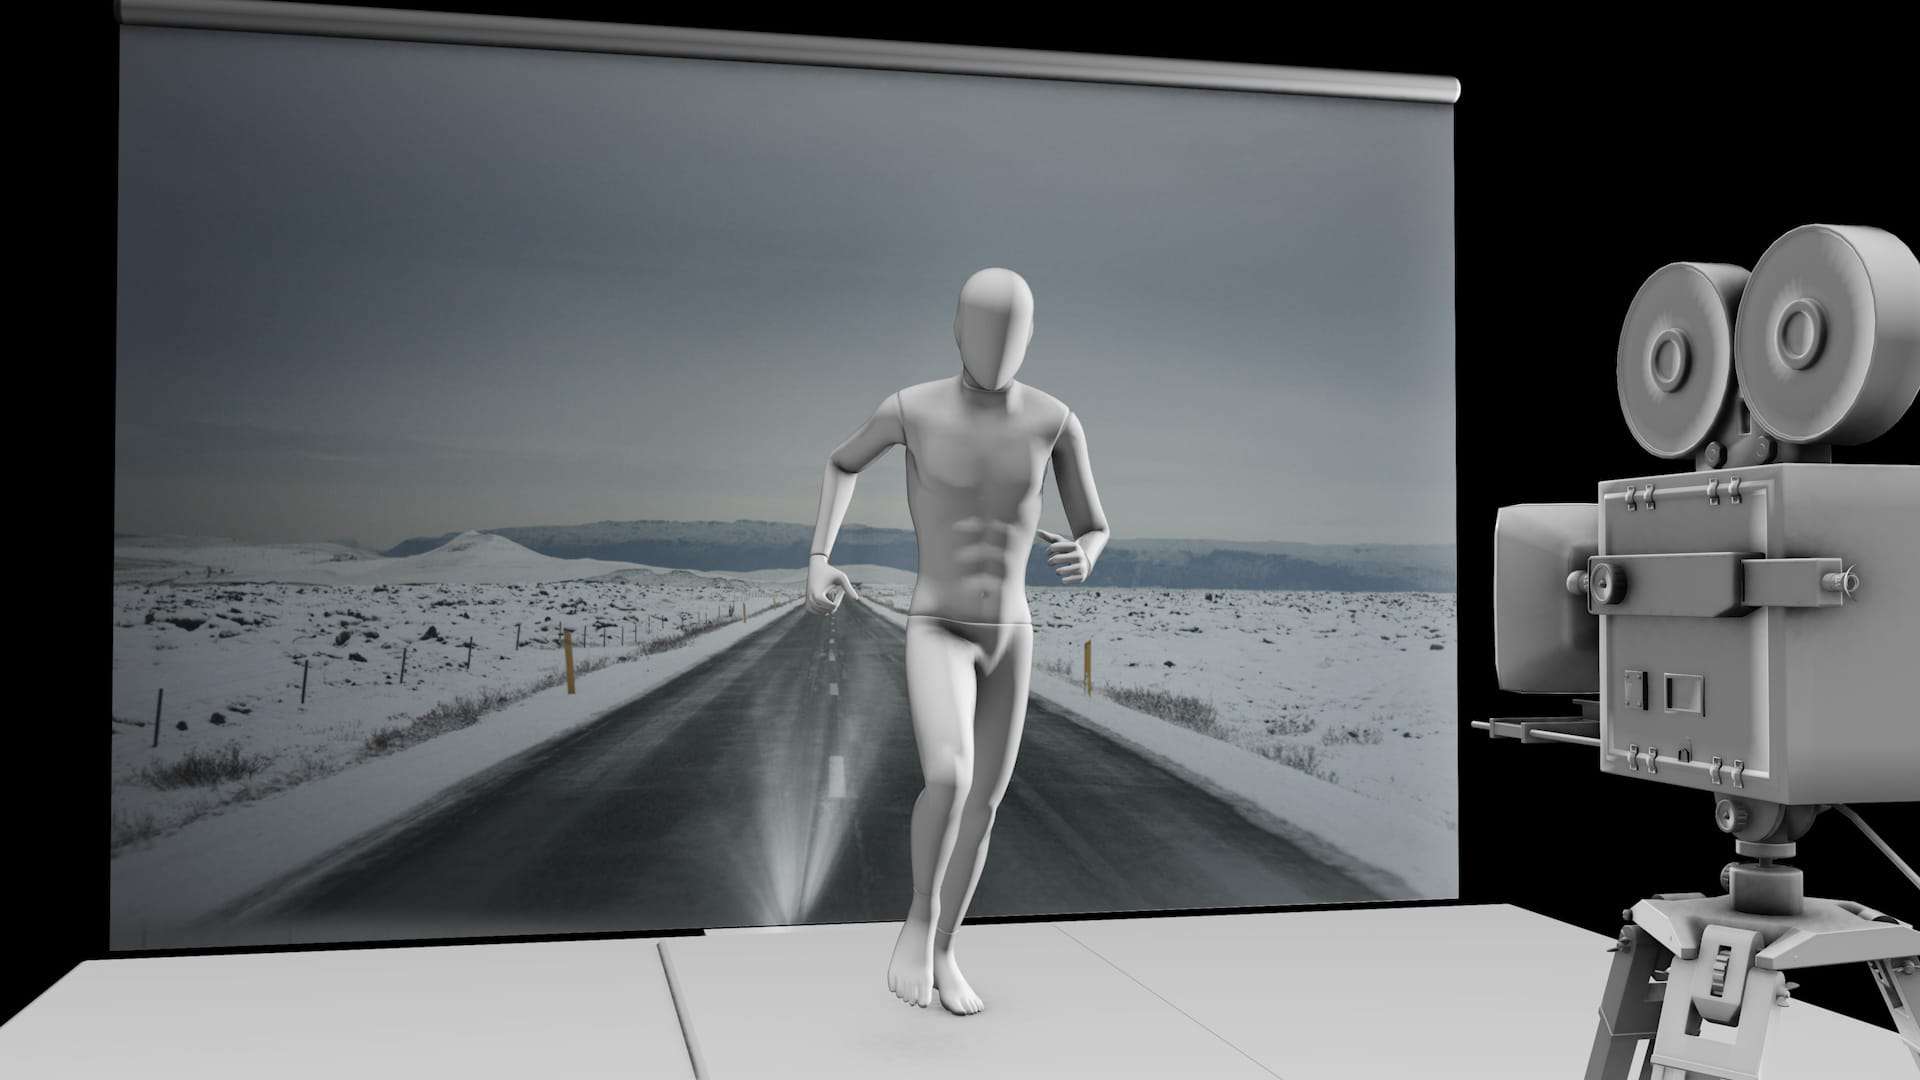
This is all predicated on you having a high quality projector that can deliver imagery that looks as good as a green screen would. For this episode, Ryan was able to try out the LG Cinebeam. It boasts -4K resolution, a 2M:1 contrast ratio, DCI-P3 with 97% color accuracy, and HDR10 level brightness.
Pros and Cons of Front Projection vs Rear Projection
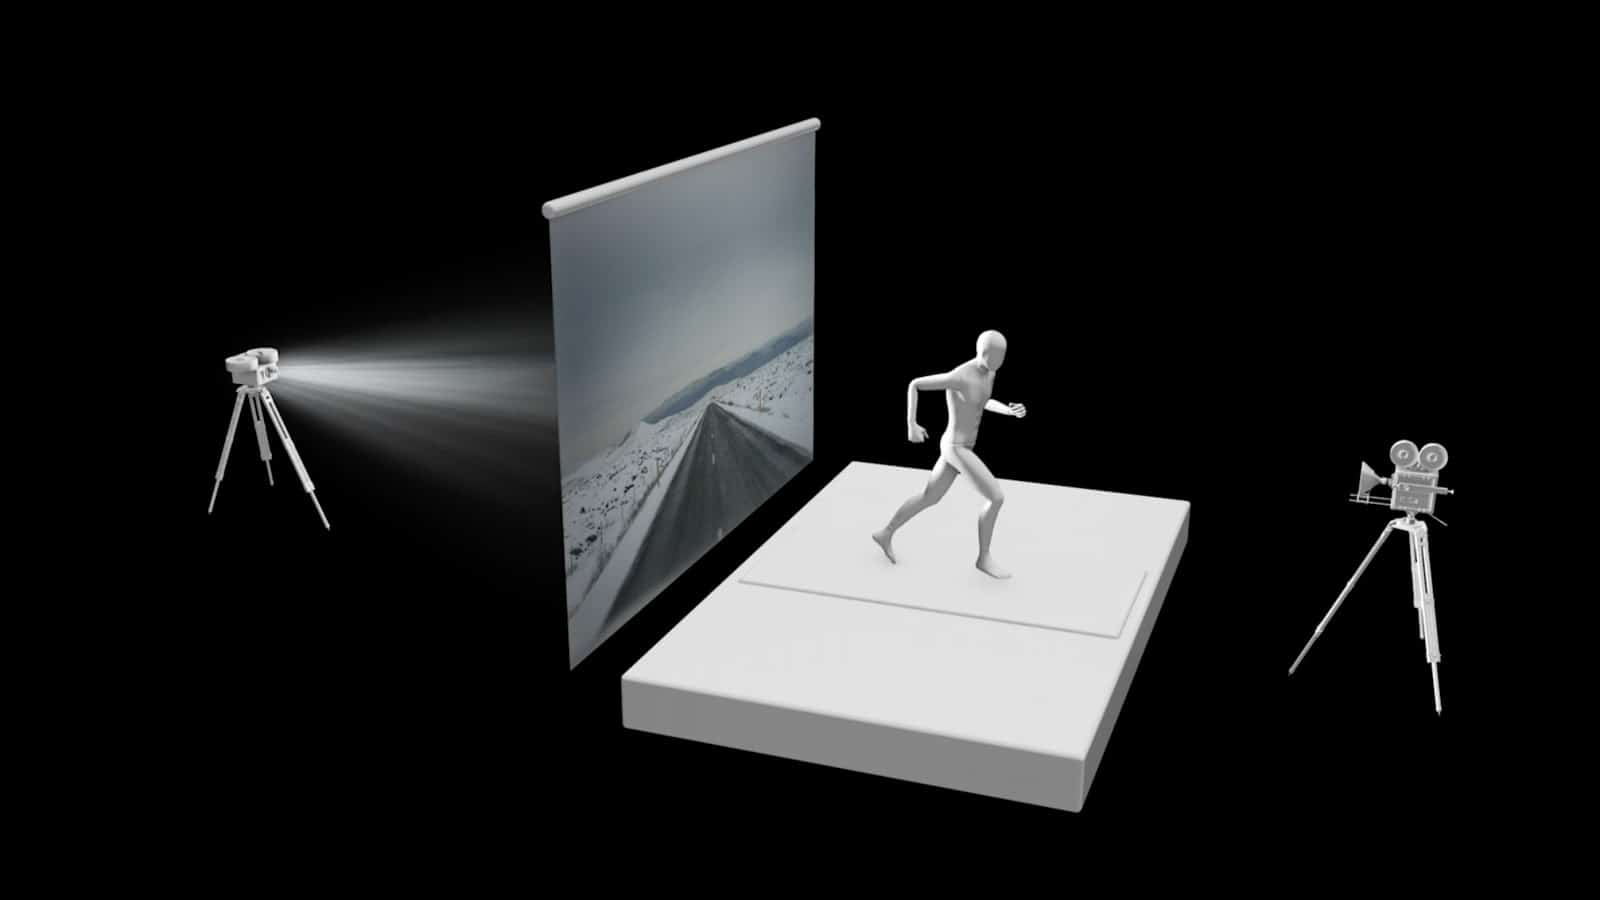
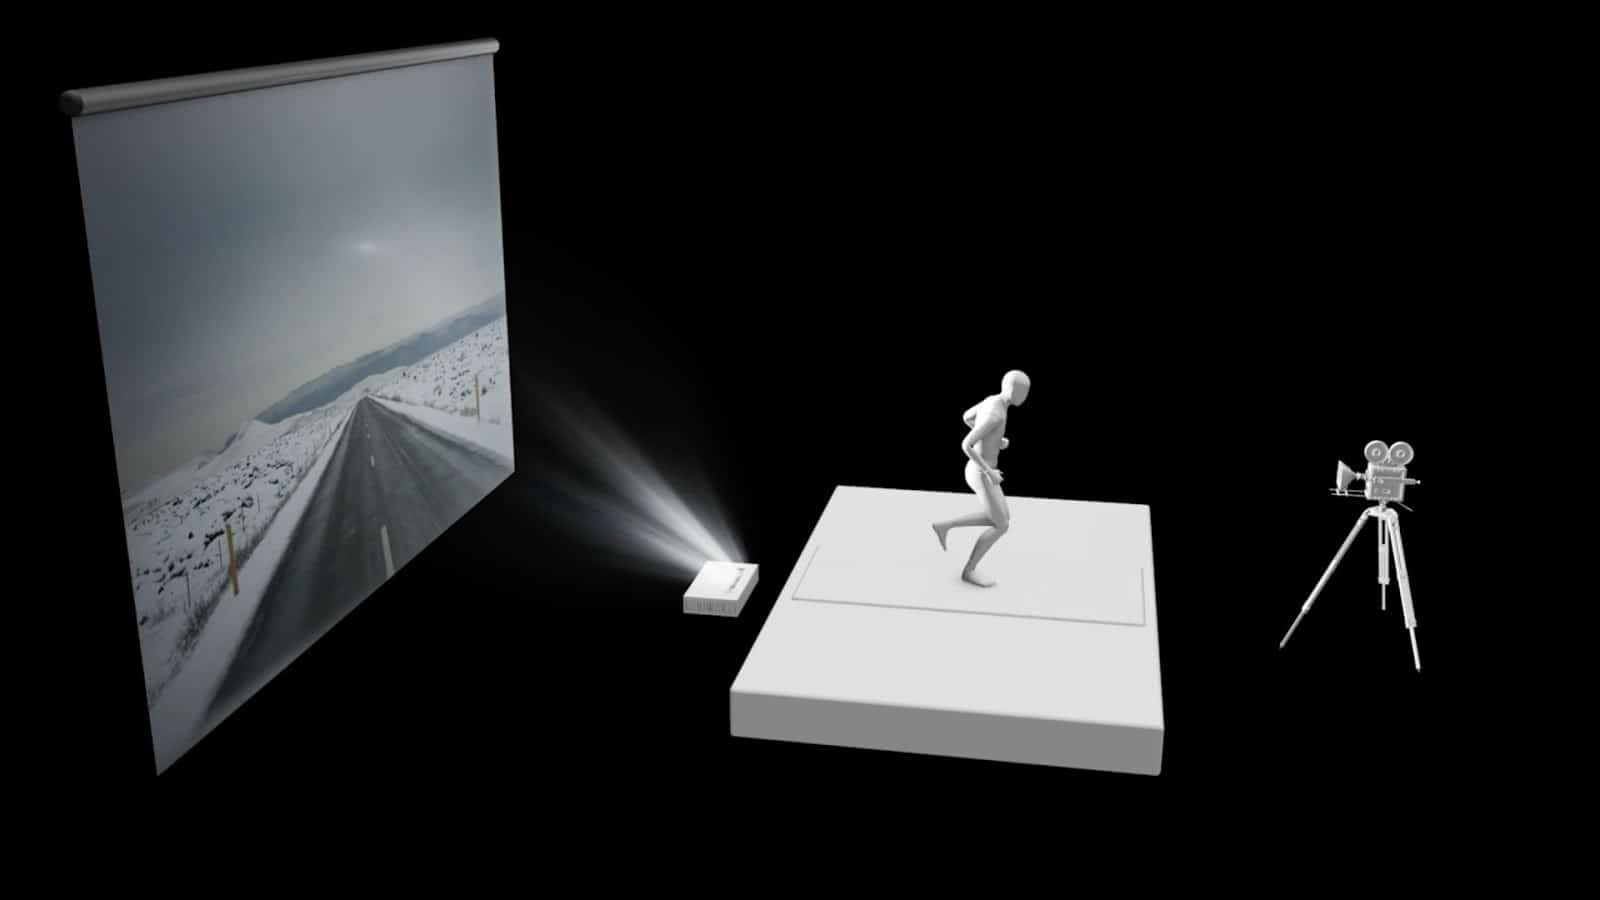
As the name suggests, rear projection is when a projector casts an image from behind a translucent screen. Front projection places a projector in front of a screen.
Rear projection
Front projection
The primary benefit of front projection vs. rear projection is that it allows for a more saturated and sharp image. The downside is the throw length. This is the length from the projector to the surface on which you’re projection. The light that is cast from the projector could bounce and hit the talent. One of the benefits of the LG Cinebeam is that is has 2” throw length that is able to cast a 90” image. You can bring it as far back as 7.2” for a 120” screen.
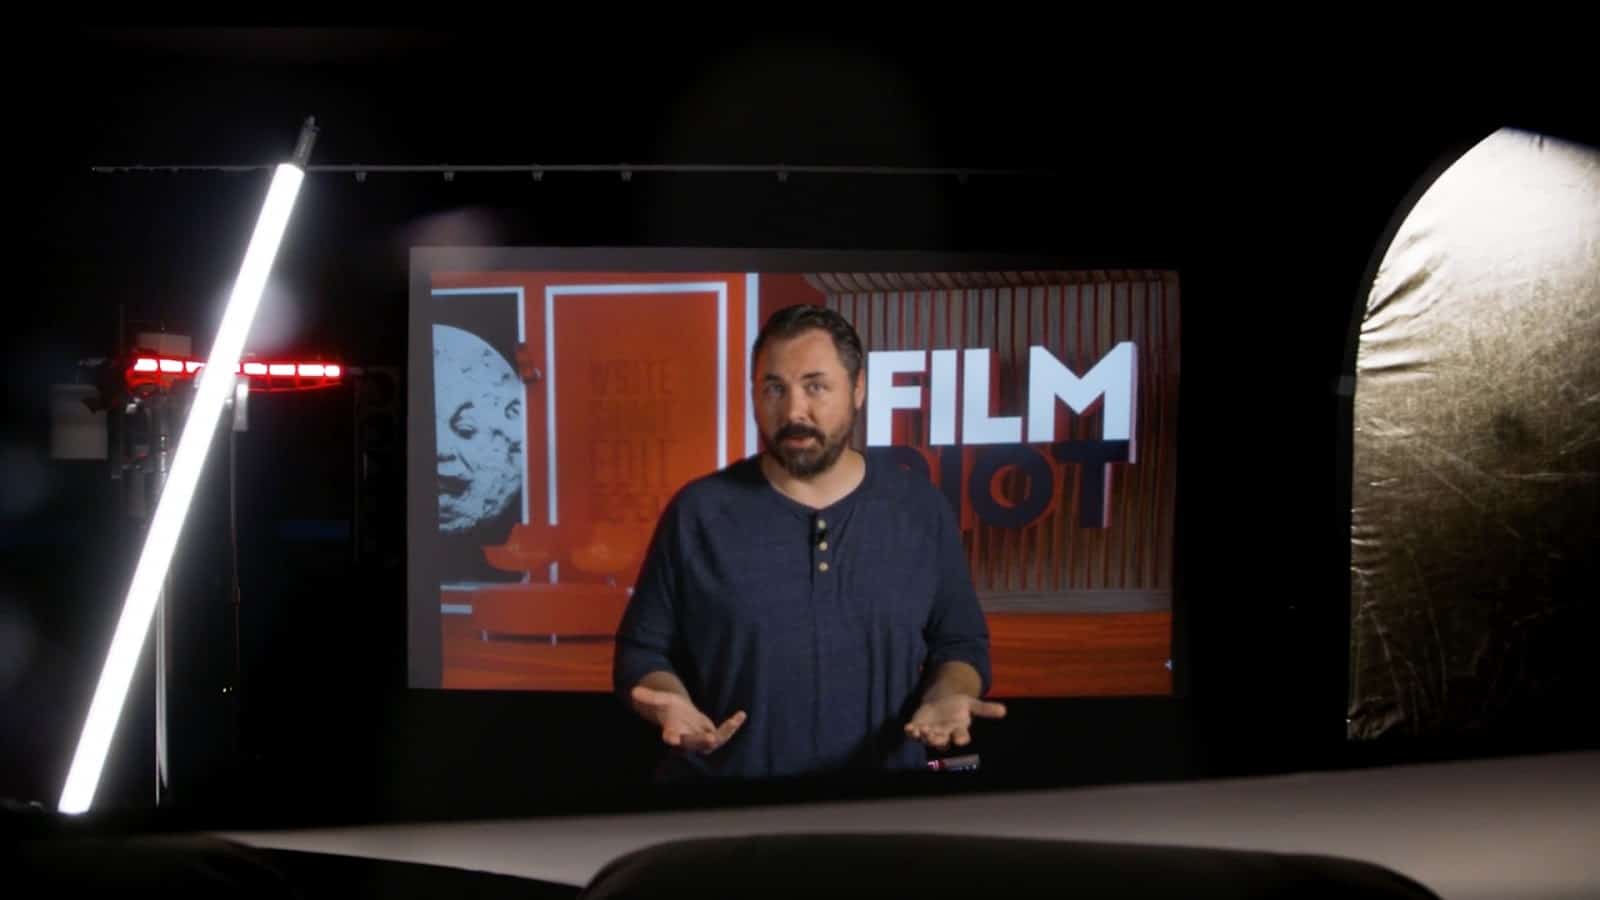
At the end of the day, front projection (or rear projection) still remain viable options for film productions looking to save post-production hassle; or if you want to communicate a particular style like the case of Tarantino. And to prove we put our money where I mouth this, this episode was shot using front projection for the usual Film Riot green screen background.
Ryan with Film Riot background
This episode’s set up with background projected from the front using the LG Cinebeam.
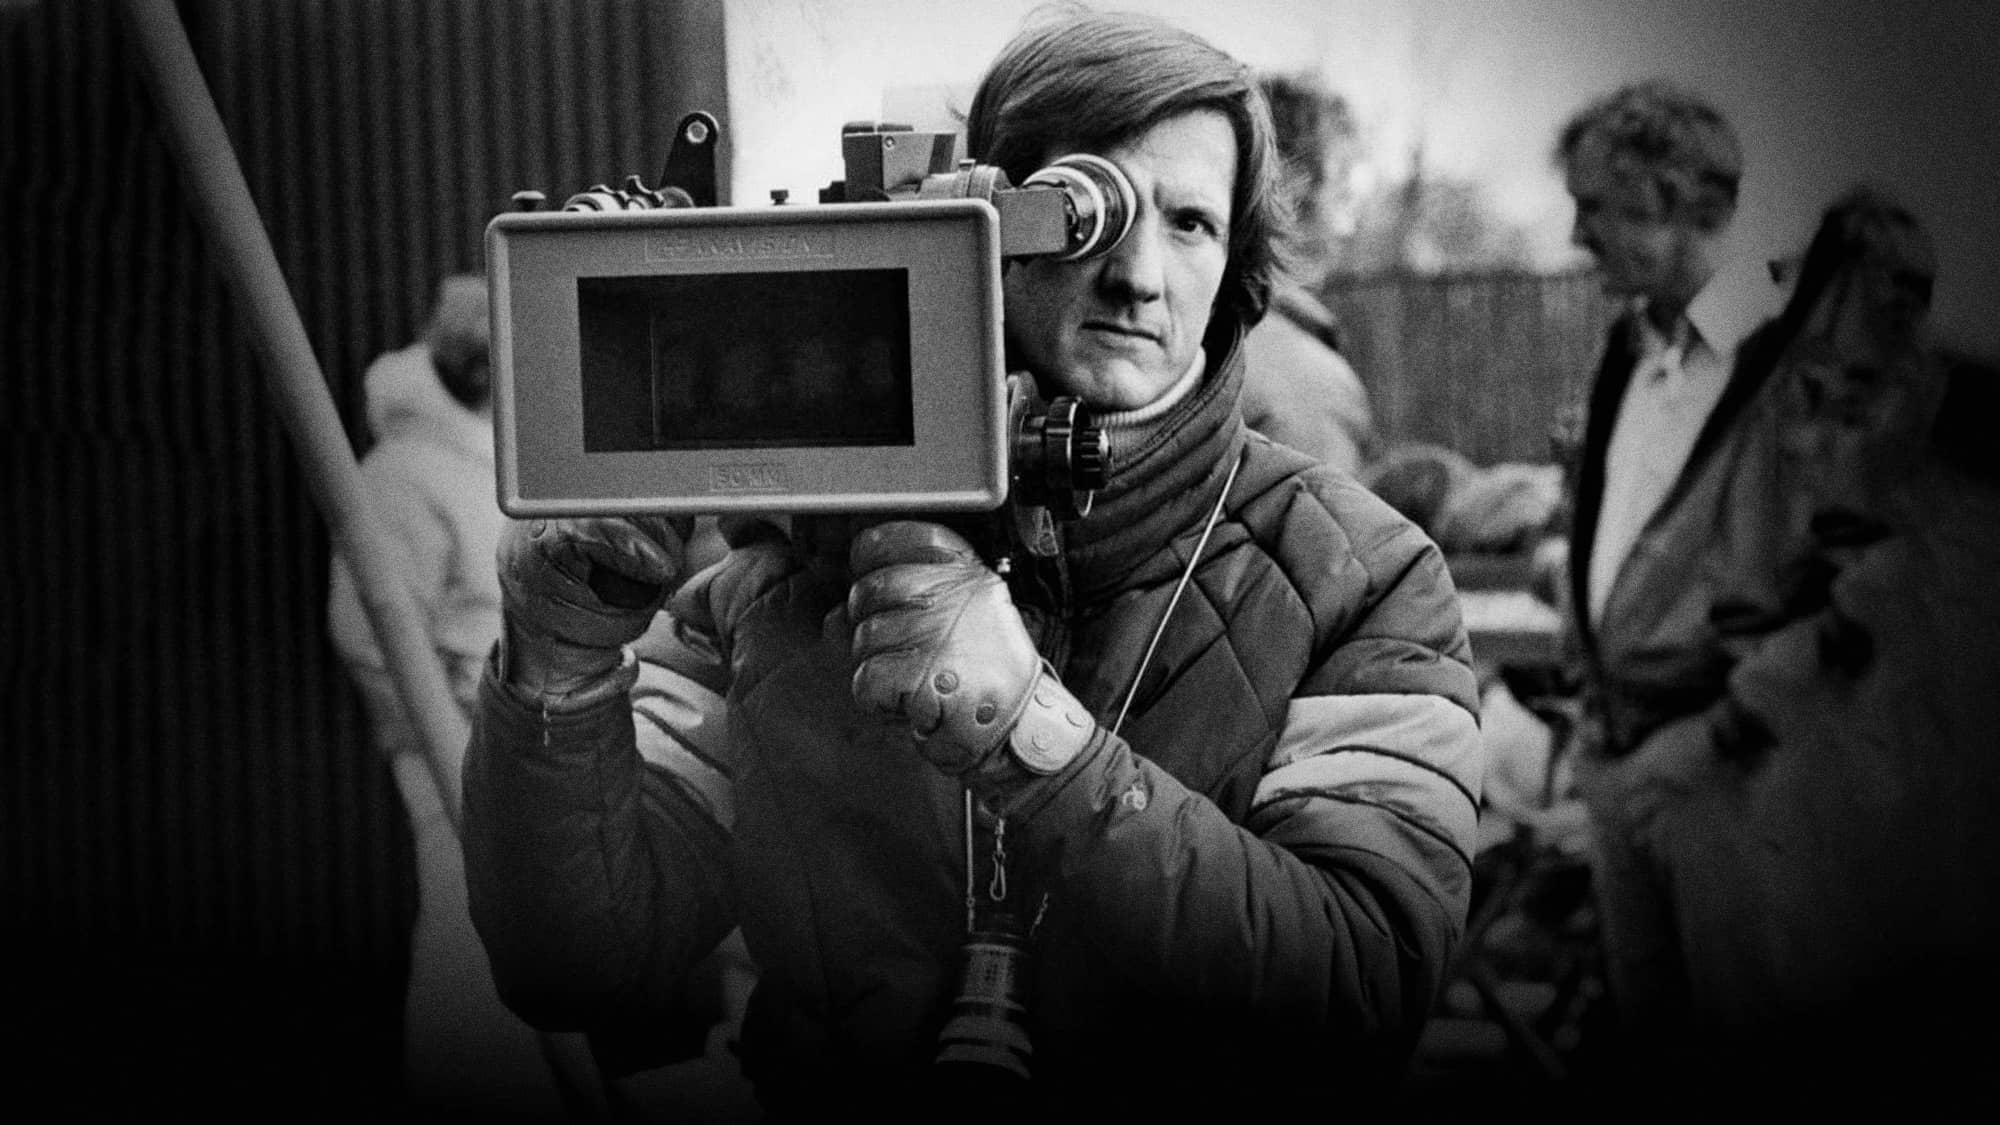
But film isn’t the only medium where he left his mark. Badham also directed a list of iconic shows like Heroes, The Shield, andSupernatural. His incredible career has led to a wealth of knowledge about the craft.
Lucky for us, John is passionate about sharing, and in this episode, Ryan and John dive deep into working with actors. They cover everything from staging a scene to managing big-name talent.
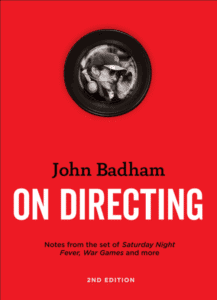
John Badham on Directing is a must read! It details methods for working with action, building suspense, and a 12 step “Director’s Checklist” for comprehensively analyzing any scene and how best to approach it with your actors.
In Part 1 of this series, we covered the basics of human vision, gaining a better grasp of how our eyes work. This provides a great foundation for tackling today’s topic: camera basics and how they work.
But why should we care about this topic if our goal is to learn more about color grading? Can’t we trust manufacturers and cinematographers to worry about lenses, sensors, and the myriad technical details of a camera?
While it’s not necessary to become an authority on the subject, there are several excellent reasons for us to understand the mechanics of our cameras in greater depth:
It allows us to think and grade photographically: By understanding cameras and the process by which images are captured, we can step in as colorists to enhance and complement this process, speaking and operating in the photographic language of light, exposure, ratios, and color temperature, rather than imposing graphical language and tools.
It empowers us to separate hype from fact: With first-hand knowledge of the factors that go into capturing an image, we’re no longer forced to blindly accept the claims of camera manufacturers or other filmmakers. Instead, we can scientifically evaluate questions such as whether camera A truly has a superior resolution to that of camera B, or whether the latest sensor is really capable of capturing x stops of dynamic range. Armed with these critical tools, we can make the most of our images, and offer insight to our collaborators on the right tools for the job.
The camera is one of filmmaking’s three essential ingredients: Despite the endless variations and evolutions in filmmaking’s tools and processes, there are three key constants in any workflow: the human eye, the camera, and the display. By deepening our understanding of each of these core ingredients, we lay a foundation that allows us to make quality technical and creative choices, regardless of the particular project we’re working on.
Now that we have a clear purpose to our mission, let’s dive into a better understanding of the way cameras convert light into stored images. We’re going to start with an overview of the camera’s key components.
Key Parts of the Camera and Their Function
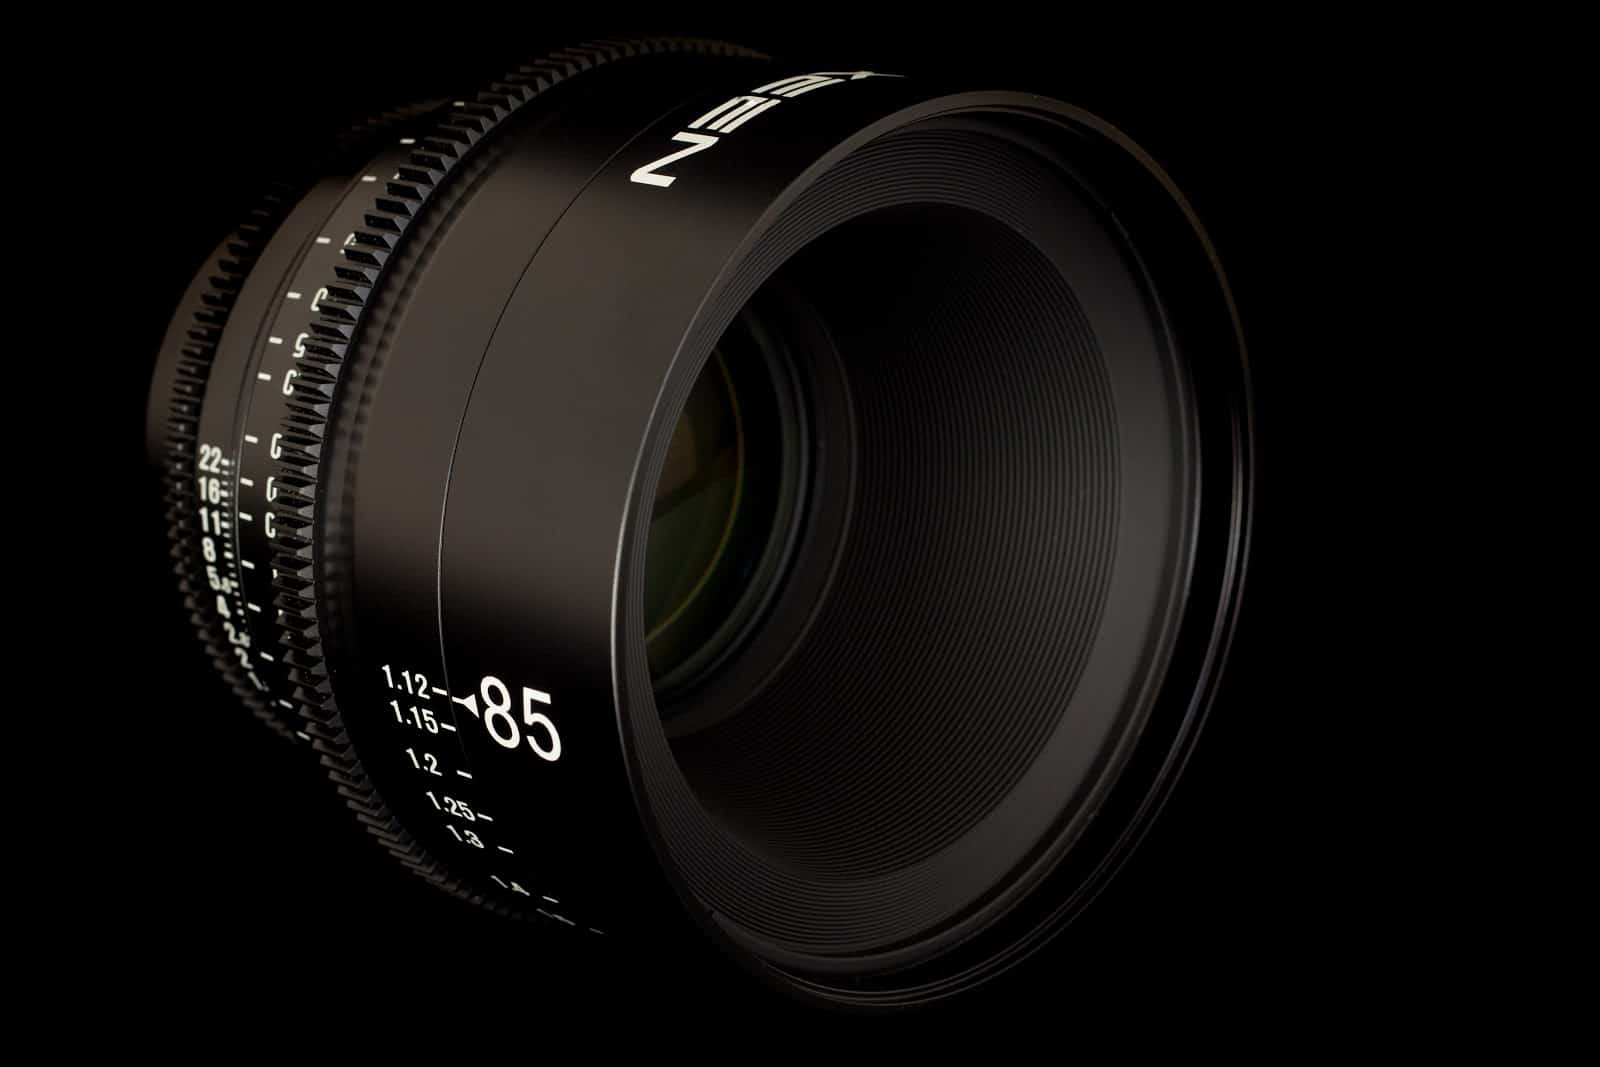
The Lens
85mm prime lens
The lens of our cameras serves the same function as the lens of our eyes: it admits and focuses incoming light. As with our eyes, the lens has a variable aperture which expands or contracts to admit more or less light — a counterpart to the iris found in our eyes.
Despite similar terms and functionality, the camera lens differs from that of the human eye in a few important ways:
A camera’s lens is often interchangeable, compared to the fixed lens of our eyes. Interchangeable lenses can differ from one another in terms of several objective factors, such as focal length, depth of field, and minimum/maximum aperture, as well as several subjective factors, such as contrast, sharpness, and bokeh (the way out-of-focus objects are rendered).
The lens’ aperture can be automatic or manual, while our eye’s aperture is always automatic, constantly adjusting to our environment without conscious manipulation.
The above point is also true of a lens’ focusing mechanism — this can be automatic or manual, compared to the fully automatic focus adjustments our eyes make as our attention shifts.
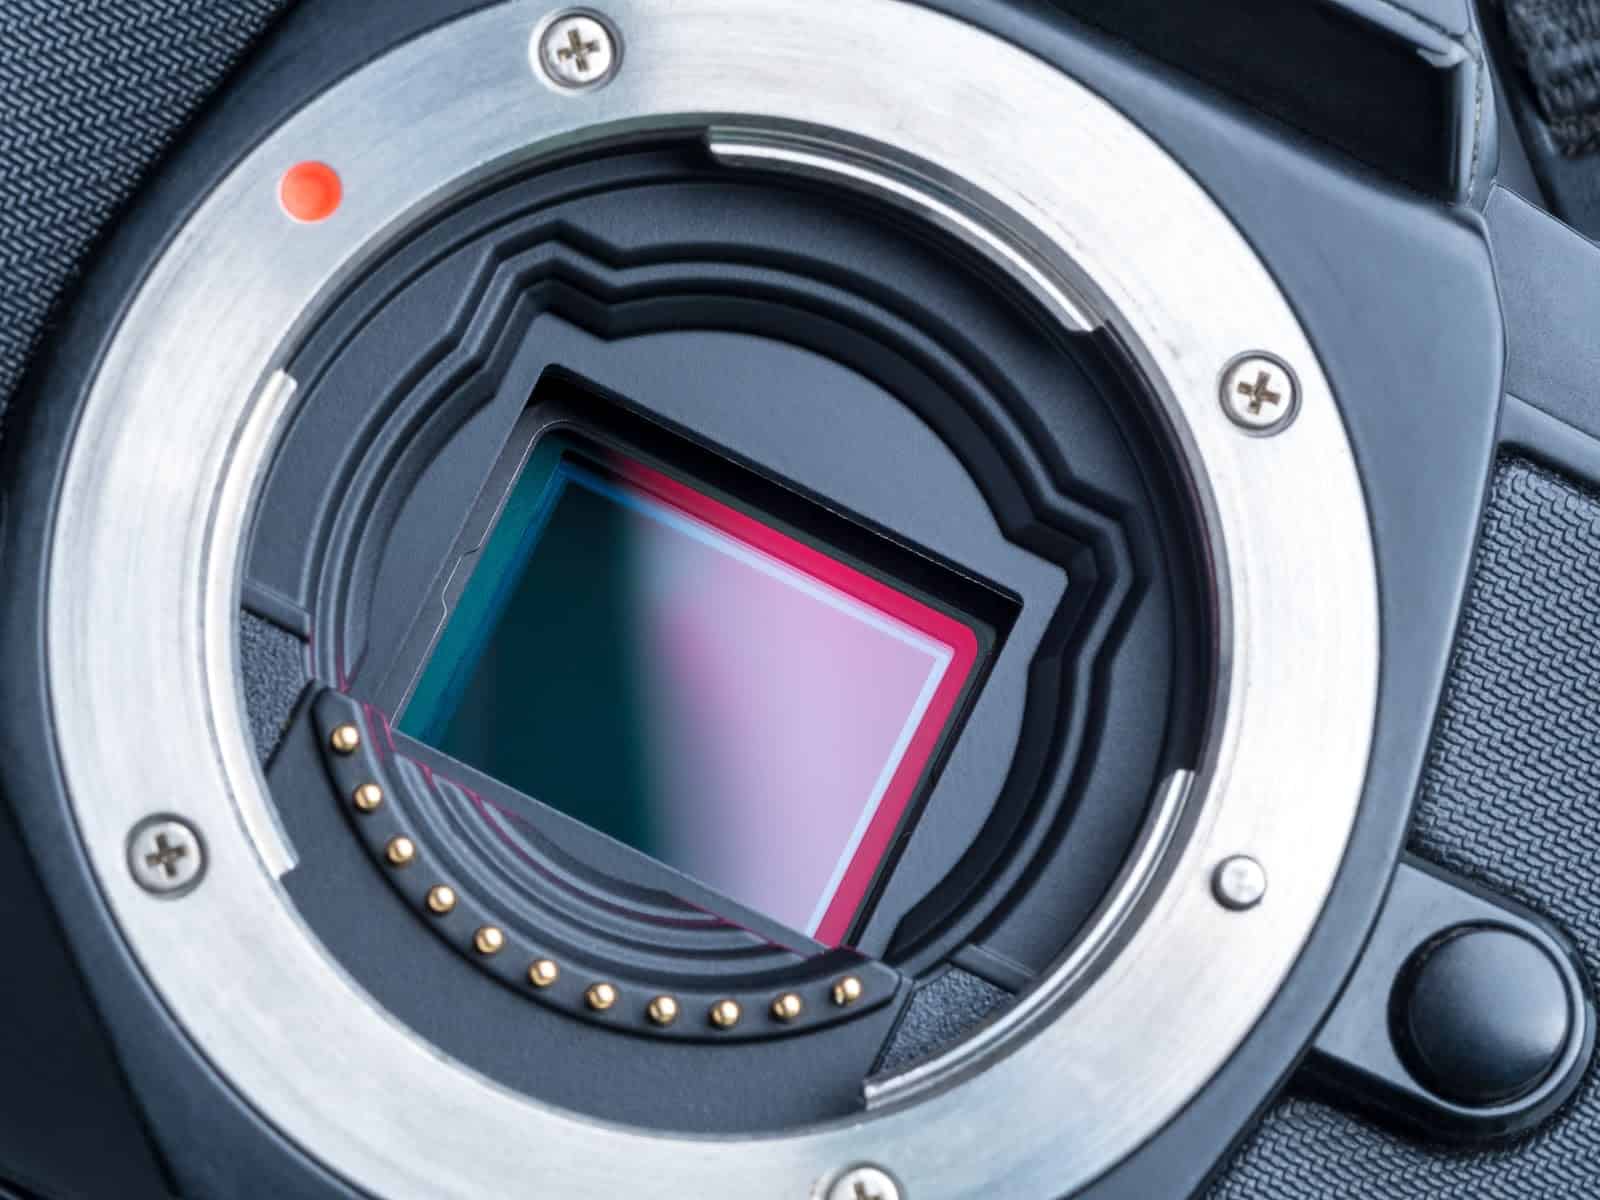
Sensor/Negative
Digital camera with lens removed to reveal its sensor
The sensor (or negative in the case of film capture) is analogous to the retina of the human eye: it is a light-sensitive surface which captures the focused image projected onto it by the lens. The underlying components of this surface can vary, but by definition it will always be some form of photosensitive device or material. Once captured, the image is either converted into an electronic signal, or, in the case of film capture, recorded directly on the negative before the camera’s motor advances to the next frame.
Processor/Encoder
This component and stage of the capture process varies in form depending on whether a digital or photochemical (film) capture system is being used.
In a digital capture system, the electronic signal produced by the sensor is next processed and encoded by the camera’s internal electronics. These steps can take a variety of forms, which can have a significant impact on the quality and character of the image. We’re going to discuss this in greater depth in the next section, but regardless of the specifics, the ultimate result is an image ready to be stored.
In a photochemical capture system, the sequencing and methods are a bit different, but the concepts are the same. The image is directly encoded to the raw negative, and later sent as an exposed roll to a laboratory, where it is chemically processed, resulting in a developed negative which, when printed to a positive film stock, produces a viewable image. As with digital systems, the amount and type of processing that takes place at the lab stage can vary considerably, and can have enormous impact on the quality and character of the image.
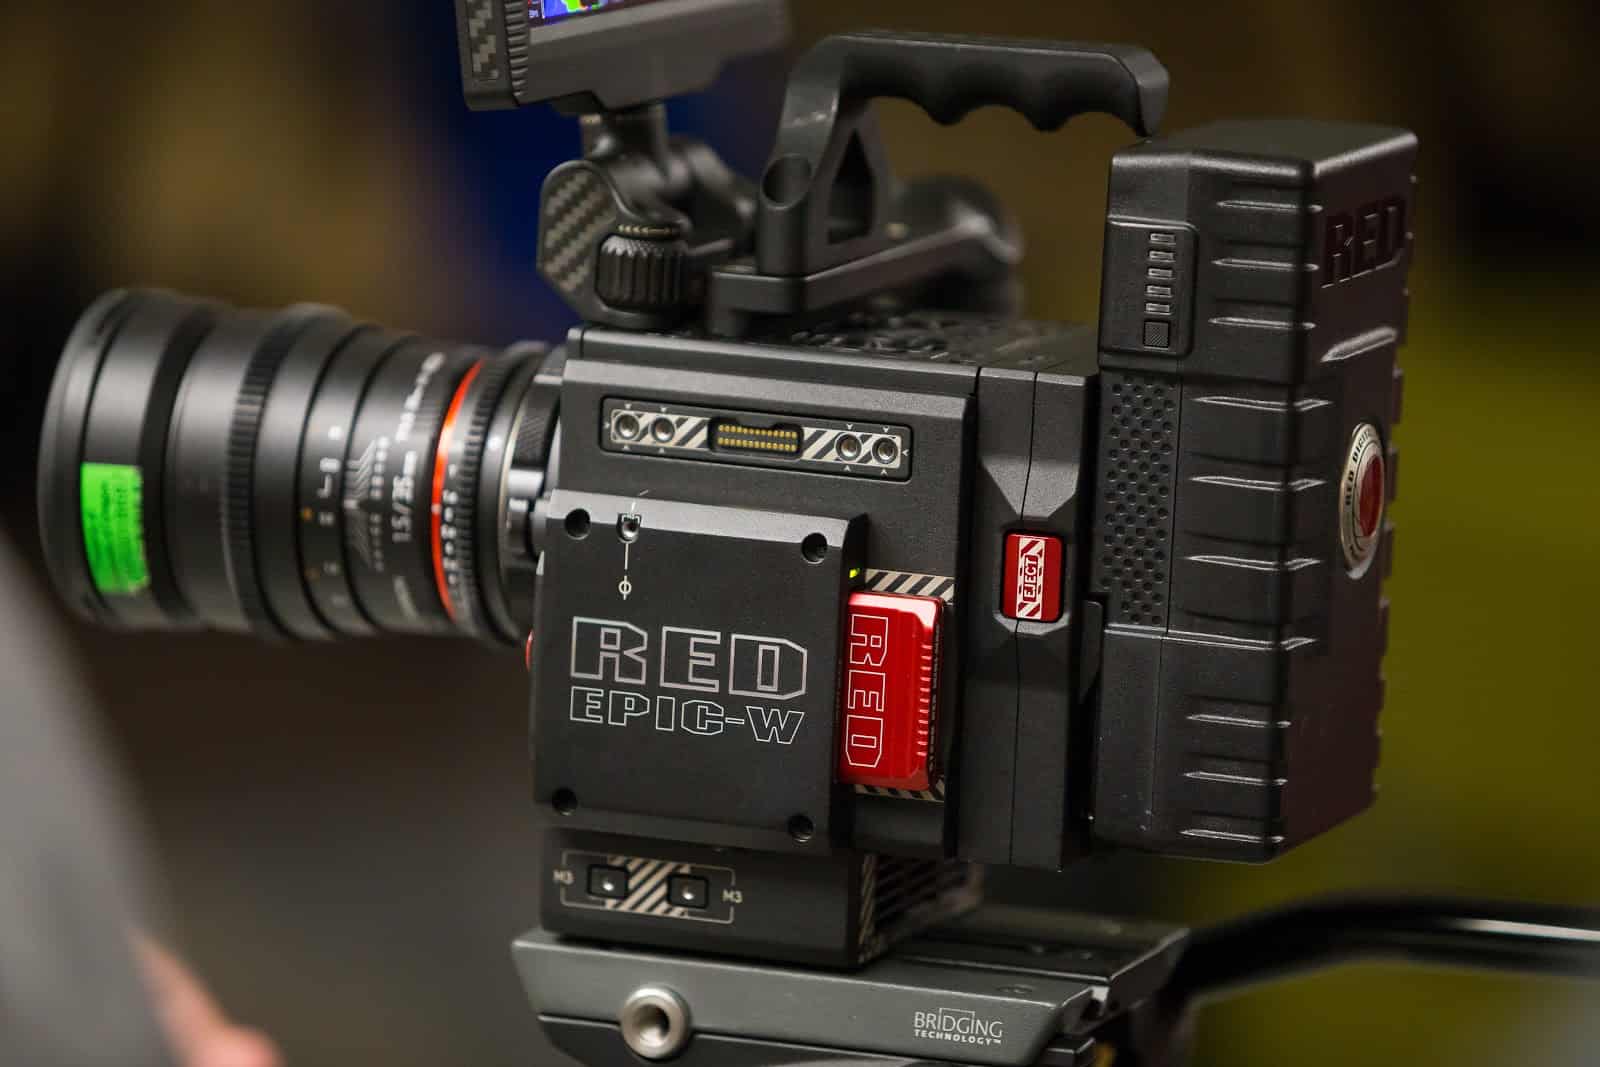
SSD/Magazine
SSD digital magazine (in red) slotted into a RED Epic-W camera
This is another component and stage of the process which differs between digital and photochemical capture.
In a digital system, the processed and encoded image is digitally stored onto a hard drive connected to the camera. This drive (or digital magazine) can be internal and fixed, or external and interchangeable, and can vary in terms of its capacity and write speed. As we’ll learn in the next section, these properties end up playing a key role in the amount and type of processing our image undergoes prior to being stored.
In a photochemical system, exposed film is re-spooled by the camera into its magazine until the roll is shot out, at which point it’s off-loaded in a light-proof changing tent into a canister sent to the laboratory for processing.
Key Properties of the Camera
Now that we’ve familiarized ourselves with the key parts of the camera, let’s discuss some of its key properties, and the impact they have on the image.
Sensor/plane size
The physical size of the sensor or film negative influences the captured image in a number of ways:
Sensitivity. All other factors being equal, the larger the plane, the higher the light sensitivity, due to the greater volume of photosensitive material.
Depth of field. All other factors being equal, as the plane size increases, the depth of field decreases, creating shallower focus.
Noise. All other factors being equal, the larger the plane, the lower the noise.
Sensor and plane size can vary tremendously, from the ultra-tiny sensor in a phone camera, to a large format such as 65mm film.
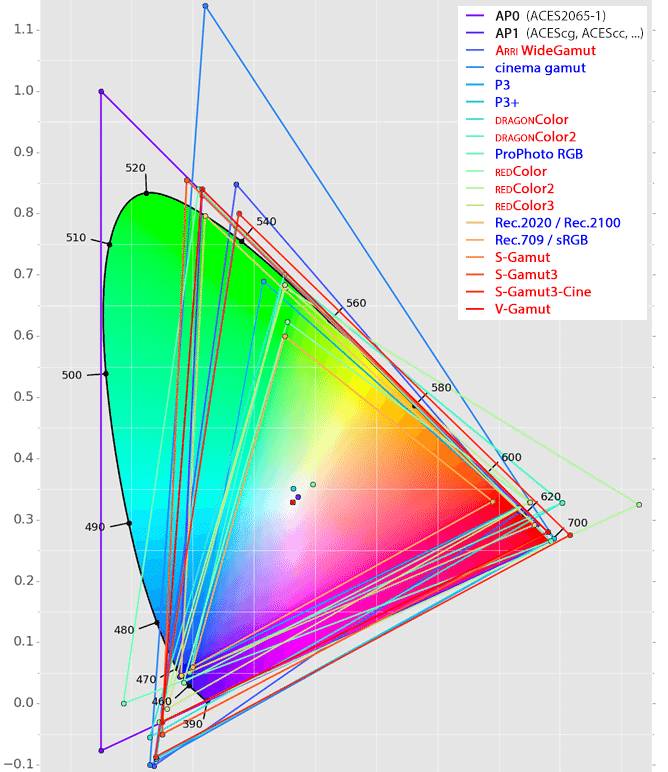
Color gamut
A CIE 1931 diagram depicting the visible spectrum (horseshoe shape) overlaid by the gamut boundaries of various camera and display color spaces
The color gamut of a camera is a way of measuring the full range of colors that it’s capable of capturing. This can range from smaller gamuts like sRGB (which might produce color clipping when capturing a traffic light, for example) to wide gamuts such as those found on Arri or RED cameras. Generally speaking, the larger the gamut, the more flexibility we have later — though as we’ll soon learn, larger gamuts come with additional responsibility as well.
This concept translates to photochemical capture as well, though the gamut tends to be less rigidly defined, and can vary not only between manufacturers and stocks, but between individual runs of the same stock, owing to the organic nature of the materials used.
Another way of thinking about a camera’s color gamut is in relation to the visible spectrum discussed in Part 1. Fundamentally, when we measure color gamut, we’re seeking to answer the question: How much of the visible spectrum is this device capable of accurately capturing?
Sensitivity
The sensitivity of a sensor or film negative refers to how much or little light is needed to create a healthy exposure. This is typically expressed in ISO for digital cameras, and ASA for film cameras, though the terms are interchangeable (meaning 800 ISO is equivalent to 800 ASA).
Dynamic range
The dynamic range (or latitude) of a camera expresses the maximum variation between light and shadow it can capture without clipping at either end, meaning an unrecoverable loss of detail. This is typically expressed in stops, and can range from 2-3 stops all the way to 20 or more. This concept corresponds to the dynamic range of our eyes as discussed in Part 1.
As with color gamut, we generally want to capture the largest dynamic range possible — provided we’re able to subsequently map and manage it, which we’ll return to later in this series.
Processing
The initial processing of an image plays a pivotal role in the process of motion imaging, whether in-camera (for digital sensors), or at a laboratory (for photochemical capture). On the digital side, camera manufacturers seek to perform processing which strikes a balance between reining in bandwidth and storage needs while preserving as much image quality as possible. This balance looks very different between consumer and professional devices. In consumer devices, the priority skews toward low cost, even if it comes at the expense of storing a larger, higher-quality image. In professional devices, the priority is on keeping processing to a minimum to afford maximum flexibility in post, but this creates the demand for more robust bandwidth and storage.
Accuracy
The accuracy or calibration of a camera refers to how faithfully it captures color. As a simple example, a camera in need of calibration might capture everything with a prominent magenta bias, skewing images away from the true wavelengths reflected at the time of capture. This factor is just as important as a large color gamut or broad dynamic range, because it may or may not be possible to fully and accurately compensate for poor calibration once images are captured.
Frame rate and shutter speed
Thus far in our series, we’ve mostly skirted around the “motion” aspect of motion imaging. Cameras capture still images in tight succession which are later reproduced, and the illusion of motion is provided by our visual system, owing to a phenomenon called persistence of vision. The rate at which these successive images are captured, and the length of interval in between, are known respectively as frame rate and shutter speed.
Frame rate and shutter speed, while related, do not have a fixed relationship to one another, and can both vary widely within and across different cameras, producing an equally wide range of subjective effects. For nearly a century, the gold standard for these attributes has been a 24 frame per second frame rate, and a 1/48 second shutter speed, but exceptions abound. Lower frame rate capture (in combination with 24fps playback) is used for timelapse photography, and higher frame rate capture is used for slow-motion, to list a few simple examples.
The maximum frame rate that a camera can record at is dependent on a number of the previously-listed factors, including sensitivity, processing power, and storage speed.
Closing
We’ve now covered the basics of both human vision and cameras, which comprise two of the three key ingredients in any filmmaking workflow. We’re now ready to talk about the third ingredient: displays, which will be the focus of our next installment in this series.
Once we’ve covered each of these three ingredients, we’ll be in an ideal position to understand the role color grading plays within the filmmaking process, and to discuss it in a holistic context.
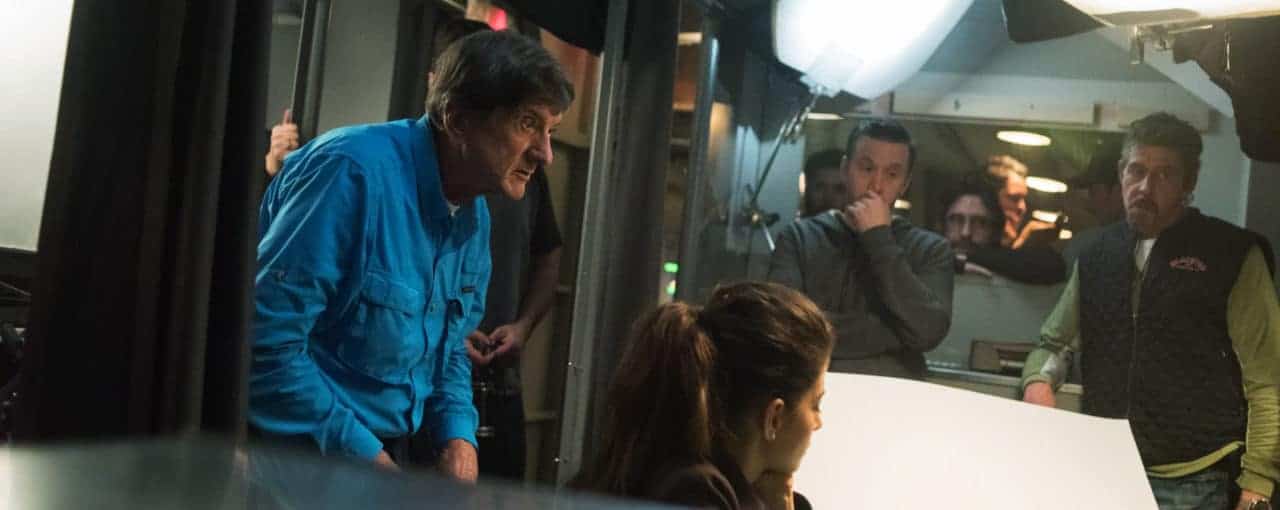
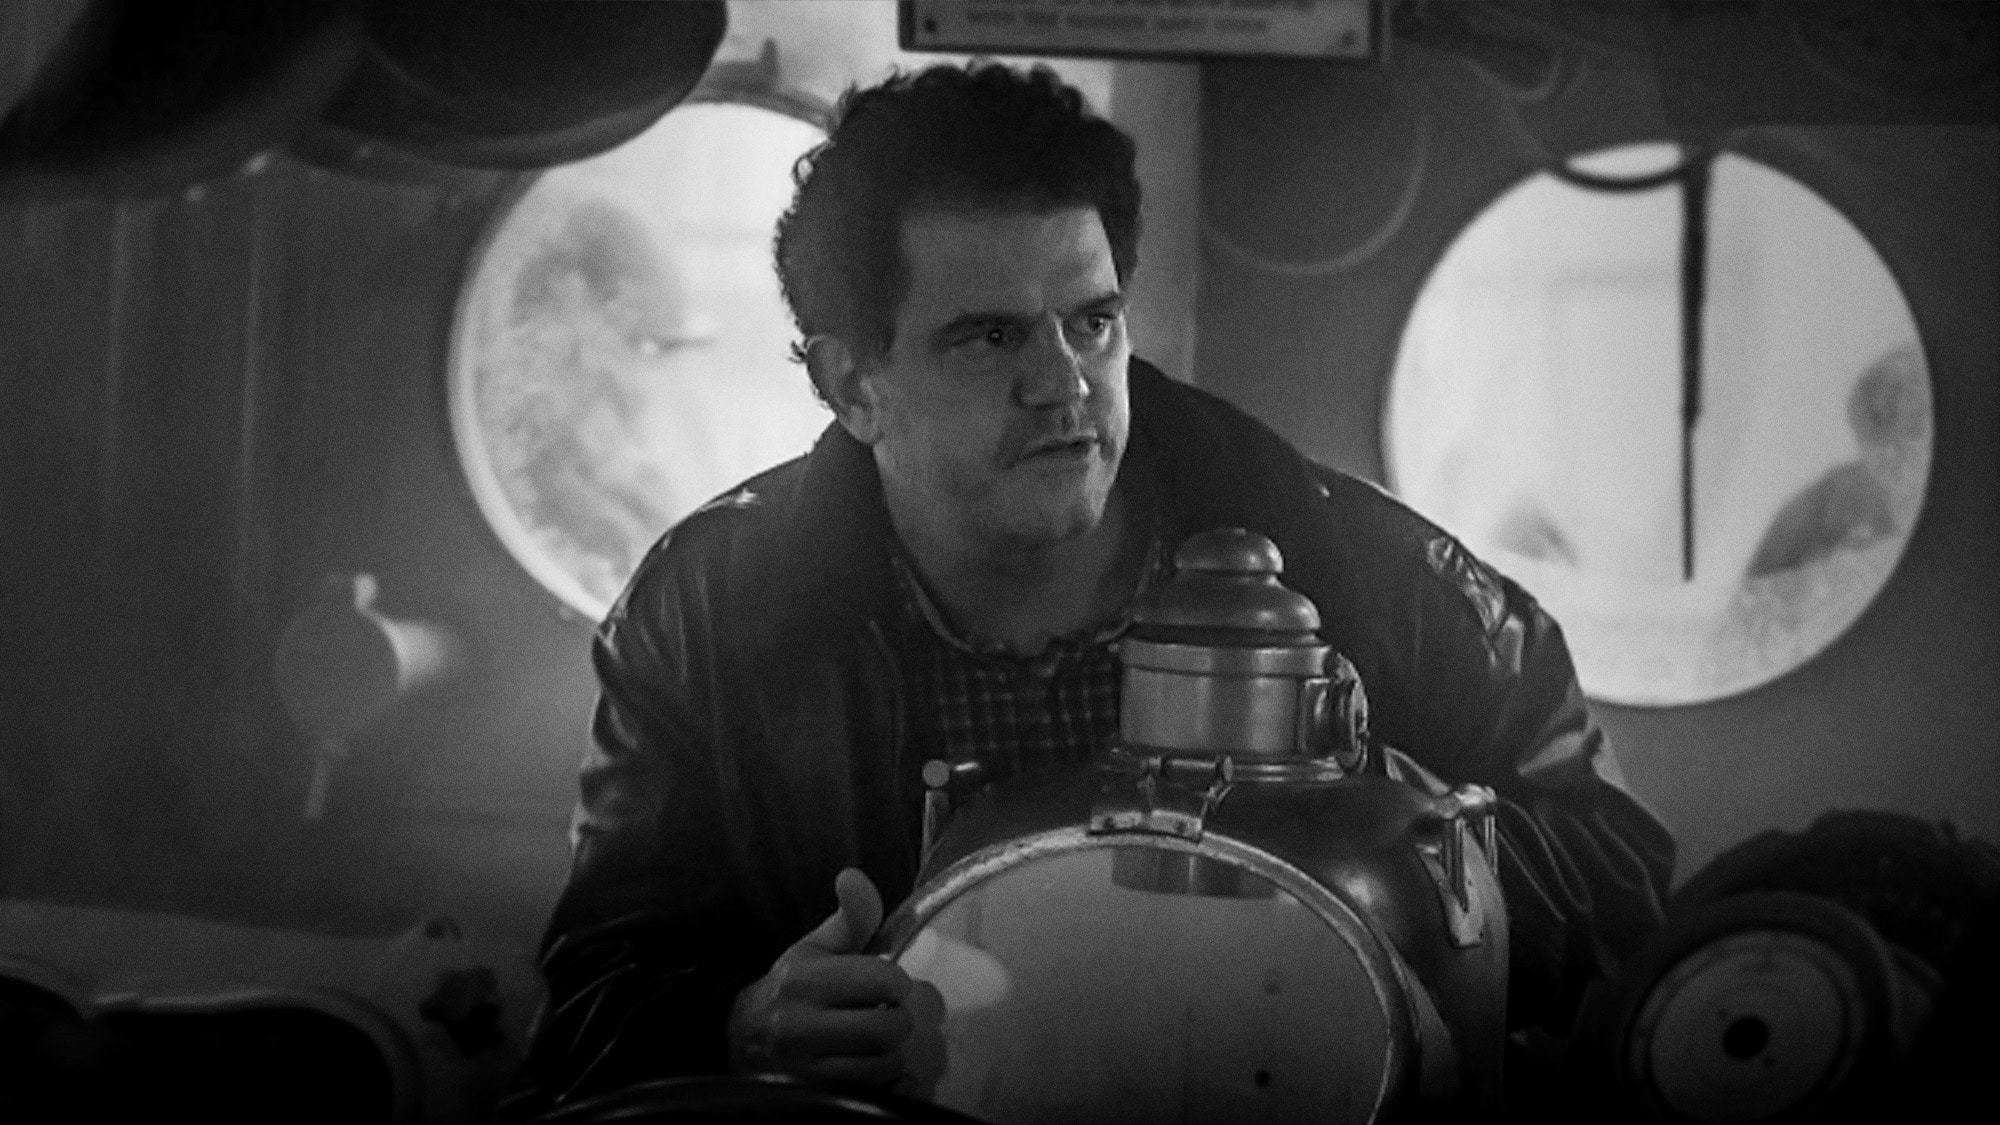
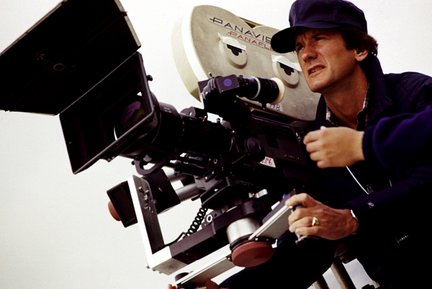
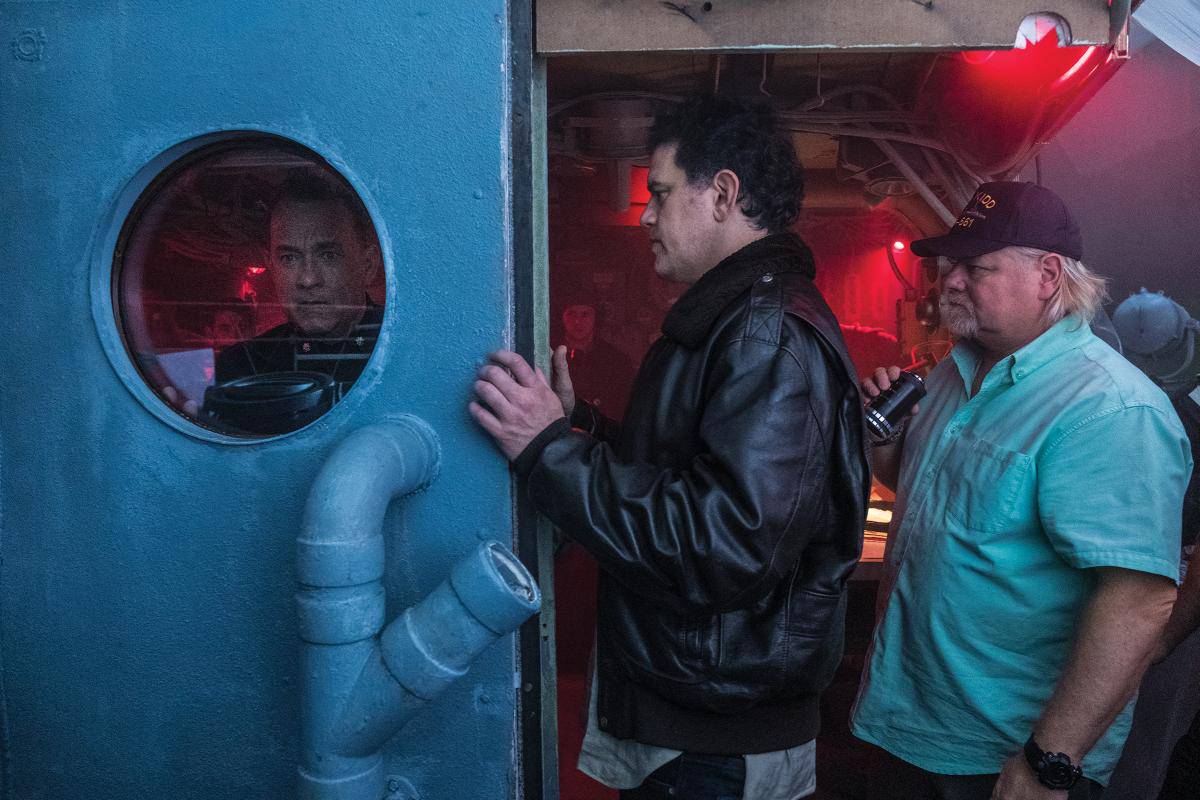
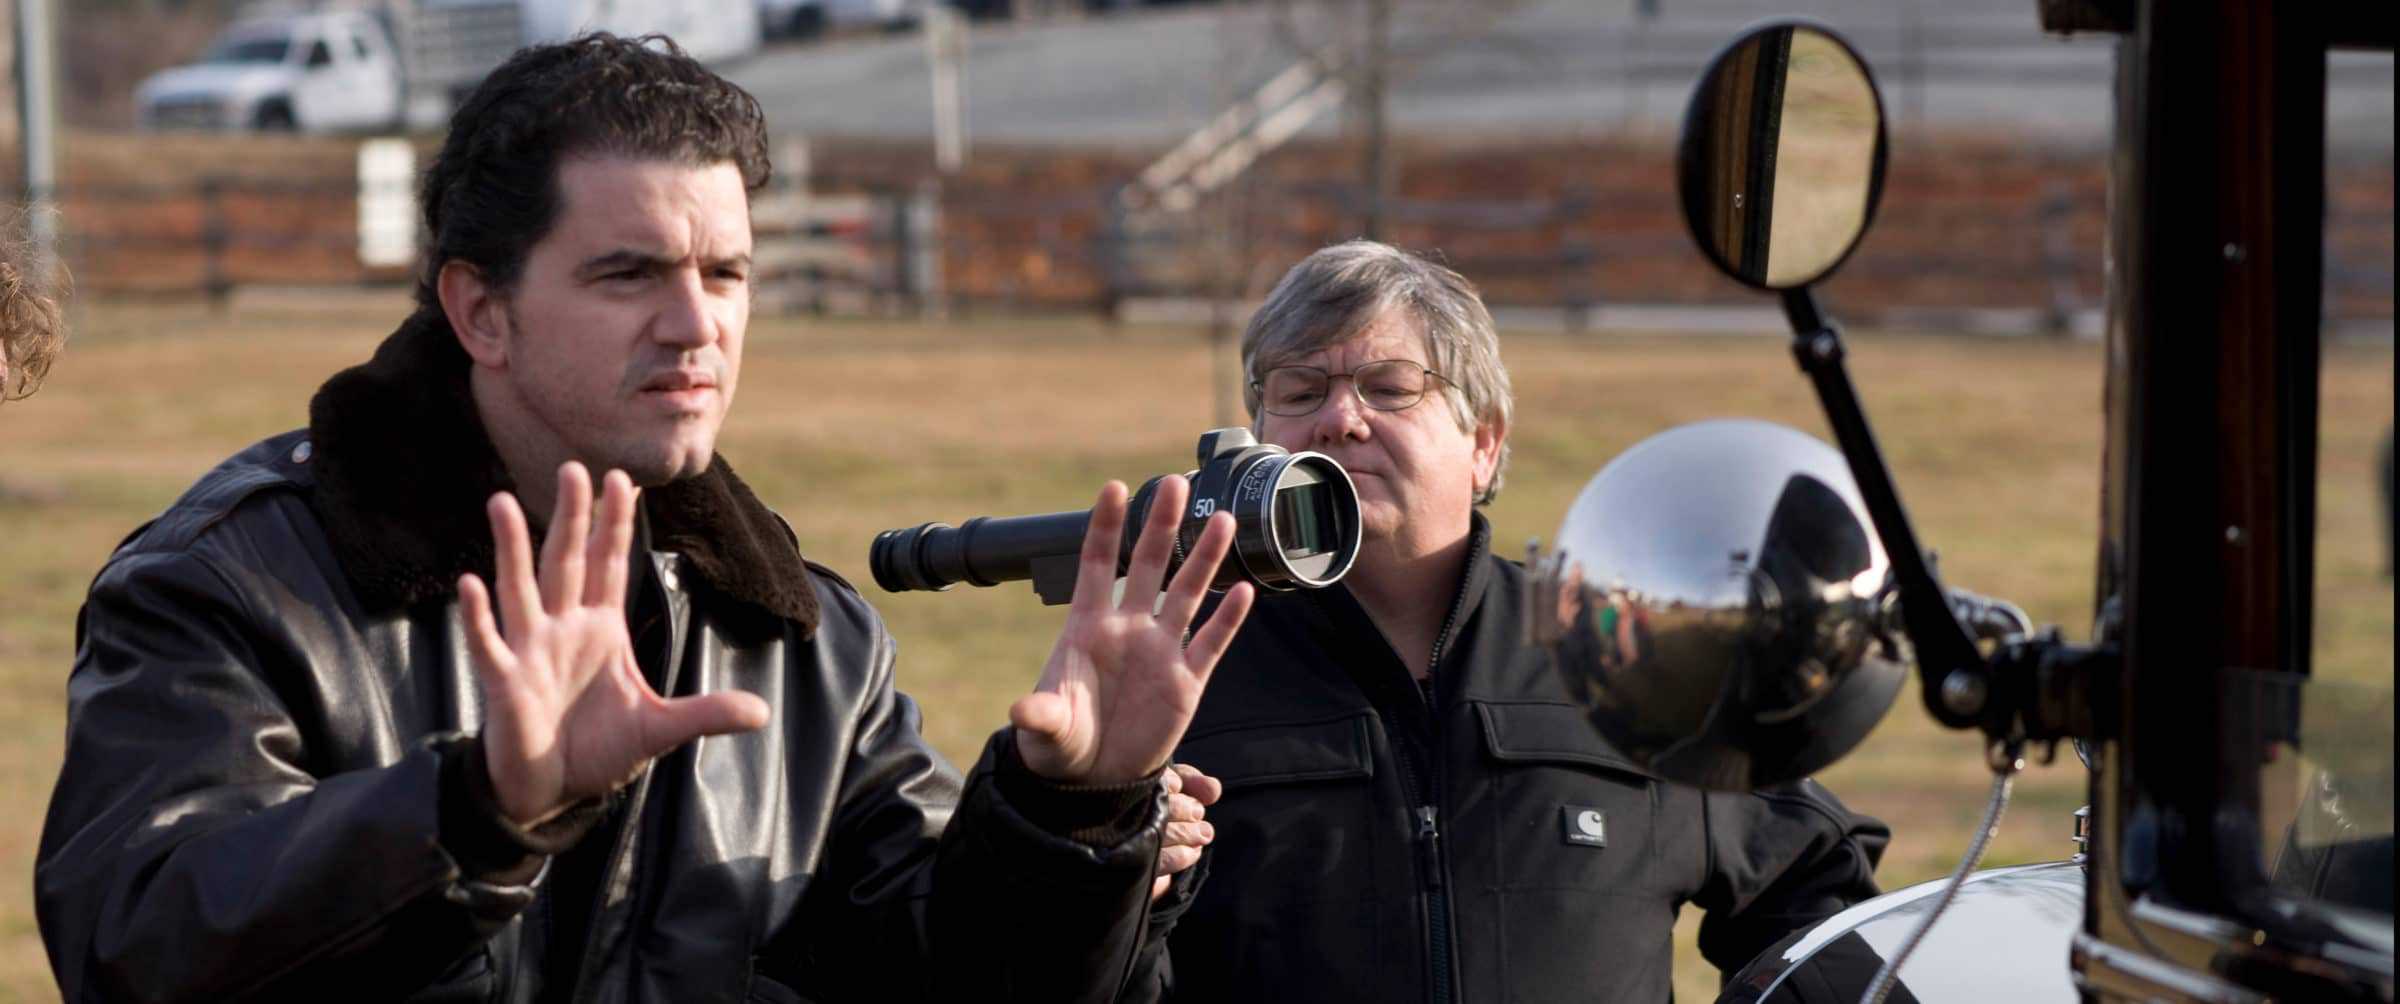
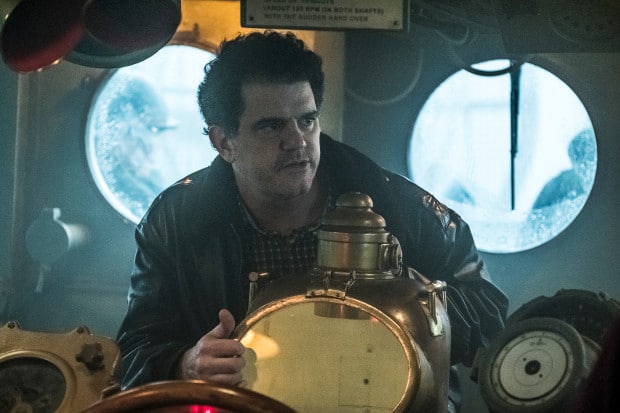
‘GREYHOUND’ is the latest original film to hit Apple TV+. Oscar winning writer/director Aaron Schneider chats with Ryan about his process for constructing the intricate battle sequences, pulling story out of the technical, and what it’s like to work with the legendary Tom Hanks! From his humble beginnings as a special effects student, to his growth into a cinematographer and eventually Academy Award-winner, Aaron’s story is one you won’t want to miss!
In the world of filmmaking there are two “rules” which each share the same name—the 180 degree rule. One has to do with the position of your camera with respect to your actors/subjects. The other has to do with the relation of shutter speed and frame rate. Both “rules” are established to improve the viewing experience of your audience.
I put the word “rules” in quotes because like every other rule, they can be broken—if you know why you’re breaking them and it serves the story. However, IMHO, I see a lot of newbie filmmakers breaking these rules because they seemingly don’t know. So, I wanted to give some insight on these rules and why you should keep them—and why (and when) you’d want to break them.
Don’t cross the line
The first 180 degree rule I want to discuss is the 180 degree line. It states that if you have two subjects speaking to one another in a scene, draw an imaginary line through the middle of them. At all times, you need to keep the camera(s) on the same side of the line. If you cross that line, you’ve “crossed the 180.”
The purpose of the rule is to keep the audience properly oriented. If actor A on the screen is looking from left to right, and actor B is looking from right to left, they will be properly oriented as long as you stay on the same side of the 180 degree line.
Here’s a clip from Ryan’s short “BALLiSTIC.” As you can see, both characters are oriented in a way that is natural and appears as if they are looking at one another.
But, if for whatever reason, you move the camera around for another part of the dialog, and you cross that 180, then both actors will be looking from either right to left, or vice versa, as you cut back and forth. That will be off-putting to the viewer, making it appear as if they are looking in the same direction instead of at each other. Using the scene from above, if you crossed the 180, the shot could look like this:
But it’s not just narrative films where this rule applies. You can apply it to event video or documentaries. If you’re shooting a wedding, ideally you would keep the camera on the same side of the 180, using the bride and groom as the two subjects. If in a documentary where you have two people talking on a 2-camera shoot, keep both cameras on the same side of the 180 for the same reason.
Here’s a great Film Riot episode that effectively and quickly illustrates it:
Breaking the Rule
Many newbies break this rule because they simply don’t know or aren’t aware. Many experienced people even break this rule from time to time because they may have had so many camera changes or are trying to get interesting angles, they forget where the 180 degree line started. Having a dedicated script supervisor (the person in charge of keeping track of how actors deliver lines, where props were for each shot, etc.) can help.
It usually makes sense to break this rule if you’re in a situation (usually an event video like a wedding) where you are forced to stand or set up your camera in such a way that it breaks the rule. Other than that, I can’t think of any other times I’d want to break this rule on purpose, unless for some reason I’m purposefully trying to disorient the audience. If you have ideas of when it would make sense to break this rule on purpose, hit us up on Twitter.
“Blurring” in the Line
The next 180 rule is the 180 degree shutter angle. I think most people break this rule because frankly, they just don’t know about it. I have to admit, until I started shooting with DSLRs way back when, and educating myself on how to properly shoot with then, I didn’t know it either. I knew what was considered the “normal” shutter speed setting for my camera (1/60 sec when I was shooting NTSC 29.97), but I didn’t know why. Hopefully this will give you some insight into this rule, as well as a better idea of when it’s a good time to break it, and when it’s not.
The Why—Proper Motion Blur
Plain and simple, the reason for the 180 degree shutter angle rule is to have proper motion blur. The rule states what your shutter speed should be set to relative to the frame rate of your camera. It’s very simple to figure out. Just double your frame rate. If you’re shooting at 30 fps, your shutter speed should be set to 60. [Note: this really represents the fraction 1/60th of second, NOT 60. But camera settings normally just use the denominator.
Also, as a side note, this 60 should NOT be confused with the 60i reference to a media format. When someone says they’re shooting in 60i, the “60” here actually refers to the number of interlaced fields. For every frame in a 30 fps shot, there are two interlaced fields, one odd and one even. So, for 30 frames, there are 60 interlaced frames, thus 60i. But that’s a blog post for another time.]
If you’re shooting at 24 fps, your shutter speed should be set to 48. However, many DSLRs don’t have an actual 48 shutter speed setting for video. So, use the closest one: 50. If you’re shooting at 60 fps, your shutter speed should be 120. And so on.
If your shutter speed is too fast or too slow, you won’t have proper motion blur. If it’s too fast, you get that staccato look popular in Ridley Scott battle scenes in “Gladiator.” If it’s too slow, the footage will look very soft and dreamy.
Rules are meant to be broken…sometimes
Okay, here’s where I may ruffle some feathers. I cannot believe how many DSLR videos I’ve seen that totally throw the 180 shutter degree angle out the window. Where it seems like every single shot is at a super high shutter speed. I see it a lot in the wedding cinematography industry, and I’m not sure why it’s so popular.
Having shot weddings for a number of years in my early days as a professional videographer, there were times when artistically a high shutter speed worked great. It’s popular to use on fountains to make the droplets of water look like diamonds falling. Or if the guests are throwing rose petals in the air, that high shutter speed staccato look can be cool. But I see it used for people just walking across the street, or hanging out in a bridal suite. For my taste anyway, it seems a bit overdone.
I know that in many circumstances, a high shutter speed is used when it’s particularly bright outside and the filmmaker is using a high shutter speed to compensate. A high shutter speed means less light is coming into the camera, and thus it’s a “trick” you can use if it’s too bright outside and you don’t have a neutral density filter to cut down the brightness. (Traditional camcorders have them built in, but for DSLRs you have to physically attach a filter). If you don’t have an ND filter, then ideally you should just stop down and adjust your aperture (i.e. instead of shooting at f5.6, shoot at f8, f10, or even–“gasp”–f16 or higher).
Now, I know precisely why DSLR shooters DON’T want to do this. The smaller your aperture, the deeper the depth of field (DoF), and heaven forbid if you shoot a DSLR with a deep depth of field. Here’s a newsflash people: not every single shot HAS to be a shallow depth of field.
Look at classic, timeless movies like “Citizen Kane” or “It’s A Wonderful Life.” They aren’t filled with a bunch of hyper-shallow DoF shots. In fact, many classic and contemporary films don’t use that hyper-shallow look. I know lots of DSLR filmmakers are just ga-ga over the shallow DoF you get with these cameras, but IMHO it’s way over used. There are other aspects of the visuals that will give it that “film” like look besides DoF (e.g. the color grading, composition, frame rate, etc.)
Here are some tips when I think it makes sense to break the 180 degree shutter angle rule.
Depth of Field: as I just mentioned, sometimes you’ll want to increase the shutter speed to help you attain a shallow depth of field. If it’s very bright outside, stopping up to f2.8 or f1.4 will totally blow out the visuals. Increasing the shutter speed will reduce the light and compensate for the brightness. Ideally, you should use an ND filter. But on the off-chance you don’t have any, this can work in a pinch. Just don’t go crazy.
Low Light: sometimes you may be in a setting where the light is pretty low and so using a slower shutter speed will let more light in. Depending on your camera, this will give your image more of a “dreamy” look. When I shot with traditional camcorders, I’d often shoot at 1/15 or slower because I wanted to get those dreamy streaks. I also used to shoot regularly at 1/30 at 30 fps instead of 1/60 because it gives a softer, more film-like look to traditional video. 1/60th has a very “video” look.
Epic battle scenes: if you’re shooting battle or fight scenes, you may want to use faster shutter speeds to get that staccato look (like the opening of “Saving Private Ryan.”)
If you have other examples of how you break this rule purposefully, and why, hit us up on Twitter.
Shutter speed experiment
Below is an example of where I used a high shutter speed for a very specific purpose. I produced a promo video for an amazing concert pianist in San Francisco, CA. For her promo she played the frenetic piece “Tarantella” by German composer Franz Liszt. The story behind the piece is that if you’re ever bitten by a tarantula, you have to do a crazy and hectic dance to rid yourself of the poison. I used a high shutter speed when recording part of Heidi’s fingers to 1) emphasize the frenetic nature of the piece, and 2) to make her fingers look like crazy tarantulas dancing on the keys.


