Film Riot

Understanding Frame Rates vs Shutter Speed

Confusing comparisons

Frame rates vs. shutter speed. This is a topic worth addressing because I often hear beginning filmmakers make the comment, “I’m shooting at a 1/30 frame rate.” What they really mean though is shutter speed.

I totally get the confusion. There are so many numbers to keep in mind when filmmaking, and a lot of them look and sound the same: 24p vs 1080p; 1/30 shutter speed vs. 30 frames per second.  (And it doesn’t help that most DSLRs and video cameras just write “30” on the display, leaving out the numerator). How do you keep all this in mind? Why should you care? Well, I hope to quickly address that today. (Note: this won’t be an exhaustive post on the topic. But detailed enough to give you what you need to know.)

Setting the frame rates and the shutter speed on your DSLR.
Photo by JESHOOTS.COM on Unsplash


Frame Rates

As the name suggests, frame rate is how many frames per second your camera is recording. Traditional movie film is shot at 24 frames per second (fps). Although shooting at 24 fps is by no means the ONLY factor in determining a “film look”, it’s a good place to start.

Here’s a list of the most common frame rates you will encounter.

  • 23.976 (aka 23.98 aka 24): When you set your DSLR or video camera to 24 fps, you are actually recording at 23.976 frames per second. Believe it or not, it’s an important distinction. Here’s a perfect example why: I once had a project I was editing in Final Cut Pro 7 (years ago)  and my audio kept drifting (i.e. the audio in my media was coming out of sync WITH ITSELF!). For the life of me, I could not figure out why. It took me a month of research to finally find the answer (thanks to the amazing filmmakers on CreativeCow.net). FCP7 used the notation 23.98 in the program. So when I transcoded the footage (this was back in the day when that was necessary), I set the frame rate to EXACTLY 23.98. But what FCP was calling 23.98 was really 23.976. That minute difference between my EXACT 23.98 footage and the 23.976 sequence settings in FCP was causing the audio to drift in my project.
  • True 24 fps: some cameras, like the Canon EOS R, shoot at true 24 fps
  • 25: PAL, which is used in many European and Asian countries
  • 29.97 (aka 30 fps): NTSC, used in the U.S. and some European and Asian countries. Click here for a list of countries and their video format.
  • 30: In truth, 99.9% of the time when you hear or see “30 fps” it’s really 29.97. However, I remember when Canon came out with their 5D Mark II around 2008, it’s 30 fps was ACTUALLY 30 frames per second. It was rather frustrating, to be honest. Canon eventually “fixed” the situation and included a firmware update that set the 5D2’s “30” to 29.97.
  • 48: this is the infamous frame rate in which Peter Jackson shot “The Hobbit.” The overwhelming majority of professional and critical feedback I saw said it was not a look people liked.
  • 59.94 (aka 60 fps): this is double 29.97, and like the aforementioned frame rate, when you see 60 fps, 99.9% of the time it’s really 59.94. This is the frame rate you would shoot at if you want to create realistic slow motion (assuming you’re shooting at 24 or 30 fps). Editing 60 fps footage in a 24 fps project achieves a 40% slow-motion rate (24/60 = 40). This is always preferred to just slowing down your footage in your editing program because when you do that, the computer has to interpolate the difference and “add” extra frames. This can cause what’s often called “ghosting.” When you actually shoot at a higher frame rate and then slow it down, you get clean slow motion.


Accusonus
Sponsored ad by Accusonus.


A Note about iOS Frame Rates

It’s worth noting that the frame rates you see on iOS devices and apps (usually 30, 60, or 120 fps) are shot with a variable frame rate (vs. a Constant Frame Rate you get on traditional cameras). For that reason, the 30 fps, et. al., are target rates, and are not necessarily precise.

Frame rates on an iPhone
Photo by John Mark Arnold on Unsplash


Shutter Speed

Shutter speed relates to how slow or fast the shutter on the camera is opening/closing. The faster the shutter speed, the LESS light that gets into the camera. The slower the shutter speed, the MORE light.

For the most part, you will want to choose a shutter speed on your camera that is twice the frame rate (technically, it’s the denominator that is twice. So if you’re shooting at 24 fps, ideally you want to shoot at 1/48, or just 48 on your settings). This is called shooting at a 180-degree shutter angle. Suffice to say that you do this in order to achieve a “normal” motion blur. Shoot at a shutter angle above or below that, and you can get a weird look. Shoot at a higher angle and you get that staccato look (made famous in that glorious opening of  “Saving Private Ryan”). Shoot at a lower angle, you get a more dreamy look.

Note: since many DSLRs and video camcorders do not have a 48 shutter speed setting, you would set it to 50 (1/50th) to get as close as possible to a 180-degree shutter. Likewise, if you shoot at 60 fps, make sure to change your shutter speed to 120 (or the closest thing to it) if you want to maintain the 180-degree shutter at that higher rate.

Learn the Rules First, Then Break Them

All of this info is filmmaking basics. For some of you, it’s old hat. For others, it may be a breath of fresh air. Wherever you fall on the experience spectrum, it never hurts to go back to basics. And once you know them, then break the rules all you want for creative reasons.

If you have any good examples of when you’d break these rules and why, hit us up on Twitter and let us know.

More cinematography tips.

Header image by Julius Drost on Unsplash

Color Grading 101 Pt. 1: Human Vision Basics

In the last twenty years, the craft of color grading has found itself at the nexus of massive shifts in the technologies, demands, and aesthetics of motion imaging. These shifts have democratized its tools, elevated its visibility, and given rise to innovative new workflows and techniques. But some unfortunate side effects have accompanied all this positive change: color grading has evolved and fractured so rapidly that most filmmakers have an incomplete, conflicted, and often misinformed understanding of it. That’s where this series comes in: I’m going to provide you with a ground-up education on the core principles and practices of color grading, empowering you to craft the best images possible.

So where do we begin? Today, we’re going to focus exclusively on understanding the fundamentals of human vision. There are a few reasons this is well worth our time:

  1. It allows us to understand how best to use our eyes as colorists: Without a basic understanding of human vision, we can’t know the strengths and limitations of our eyes as tools. For example, did you know that the longer you look at a shot, the less ability you have to make an objective assessment of its white balance? Neither did I, until I learned about the adaptive nature of our vision — which we’ll return to later in this article.
  2. It provides us with information we can use to manipulate the viewer’s gaze in our grades: The human eye isn’t just the primary tool for our work: it’s also the sole consumer of it. Understanding the way our eyes see and process images maximizes our ability to control and manipulate it with our grading choices.
  3. It gives us the ideal foundation for understanding cameras and displays: Human vision is the basis of every imaging system ever devised, from lenses to sensors to displays. The best way to understand these systems, and the role color grading plays within them, is to understand their common foundation.

With these motivations in mind, we’re going to overview the vision system as a whole, and then explore some of its key strengths, limitations, and biases. If you’re ready to take your first step toward better-looking, better-informed color grading, read on.

The Vision System

Let’s start with a broad overview of our vision system. How do we form images from light?

1 ReflectedLight

Light strikes the objects in our environment, and any wavelengths not absorbed are reflected back to our eyes.

2 EyeDiagram

  • Once light reaches the eye, the iris opens or closes the pupil to admit more or less light as needed.
  • The lens focuses the admitted light, and projects the resulting image onto the retina.
  • Through light-sensitive photoreceptors known as rods and cones, the retina converts the image into electrical impulses which are carried via the optic nerve to the visual cortex.

If you’re at all familiar with the mechanics of cinematography, this process should sound familiar, because it’s very similar to the way a camera works. This similarity is no coincidence, as both systems have the same fundamental purpose: converting light into images, which are then processed and stored. Of course, unlike with our vision system, a camera’s images must be reproduced in some fashion before we can view them, converting the stored images back into visible light via a display.

But we’re getting ahead of ourselves. In order to understand and effectively work with man-made imaging systems such as cameras and displays, we first need to go deeper in our exploration of our biological imaging system. Now that we have a basic understanding of the overall process of vision, let’s look at some of its key properties.

The Visible Spectrum

What exactly is light?

3 VisibleSpectrum

In geek-speak, light (more specifically, visible light) is the range of frequencies within the electromagnetic spectrum which our eyes are sensitive to.

In layman’s terms, visible light is a particular type of radiation we happen to be able to see. There’s lots of other measurable radiation out there, from radio waves to x-rays, but only visible light is, well, visible.

This is a key attribute of any imaging system, whether biological or man-made: each has an effective range of wavelengths which it’s capable of measuring, and anything outside that range is invisible to that system. One way of measuring and expressing this effective range in a given system is to compare it to that of human vision: the larger the percentage of visible light it can capture, the more robust the system. This is a concept we’ll be revisiting throughout this series.


Accusonus
Sponsored ad by Accusonus.


Dynamic Range

4 DynamicRange
The dynamic range of human vision as compared to various lighting environments, as well as those of SDR and HDR displays.


In the same way that our eyes can only perceive a finite range of wavelengths of light, they’re also limited to a finite range of luminance values. We’ve all experienced what happens when the amount of light in our environment falls below or above this range: we’re no longer able to resolve images. The good news is that this range of perceivable luminance values, known as dynamic range, is extremely well-adapted in humans, boasting upwards of 30 f-stops — far more than even the best cameras currently available. So, as with the visible spectrum, we can assess how robust a given system is by comparing its dynamic range to that of our vision.

After looking at the range of wavelengths and luminance values the human eye is capable of perceiving, it seems we’ve evolved a near-perfect imaging system. But while our vision is indeed extraordinary, these metrics don’t tell the full story. To better understand our vision as it relates to color grading, we need to look at a few of the adaptations and “hacks” it relies on, each of which has a direct impact on the way we create, manipulate, and perceive images.

Rods vs. Cones

5 Rods and Cones

We learned in our overview of the human vision system that the retina is responsible for converting focused light into electrical impulses. It does this through the use of photoreceptors, which come in two main varieties: rods and cones.

Cones are responsible for detecting color, but they need a significant amount of light in order to function, and there are relatively few of them spread across the retina (around 6 million). This means that our effective visible spectrum becomes far smaller in low-lit environments. Think back to the last time you stood under the moon and stars without artificial light: you could probably see reasonably well, but could you discern any particularly vivid colors? Probably not, because your cones need a stronger stimulus to function.

Rods, on the other hand, are far greater in number (around 120 million) and can detect light at much lower levels — these are the photoreceptors which allow you to see by moonlight. The catch? You guessed it: rods can’t perceive color.

Why does this matter? Because it gives us important clues about how to prioritize the capture and manipulation of our images. Knowing that the eye is far more sensitive to overall luminance and contrast than it is to color means that, rather counterintuitively, the most important decisions we make when color grading may have nothing to do with color at all. This is one of the key concepts to understand in color grading: Contrast is king.

Chromatic Adaptation

Imagine you’re pulling a late night in a fluorescent-lit office, and you hand off a blue binder to a co-worker on your way out. The following morning, you bump into your co-worker in the parking lot, and she’s carrying a stack of multi-colored binders. Not having a free hand, she asks you to grab the binder you loaned her. Will you have any trouble recognizing it by color? Unless there’s more than one blue binder, you’ll have no issue.

This is actually a pretty remarkable feat, as in each lighting environment, the wavelengths of light bouncing off that binder are wildly different. Yet our eyes pull it off with apparent ease, thanks to a quality known as chromatic adaptation. What this essentially means is that our eyes are constantly using environmental cues to determine what “white” is in a given situation — think of it as an ongoing automatic white balance.

But despite being a huge advantage for our ability to perceive everyday color, this quality has several critical implications for filmmakers and colorists:

  1. In production, we need to be constantly mindful of the fact that cameras don’t have this same adaptive mechanism, and take care to explicitly tell them what temperature of light to capture as “white”.
  2. When grading, we need to work in an environment with fixed lighting which is consistent with the white point of our mastering display. If we’re grading in a room with a window, for example, our eyes will compensate for the changing color of daylight pouring in, and our grades along with them, allowing color casts and inconsistencies to sneak in.
  3. We have a limited ability to make an absolute assessment of an image’s overall balance, because our eye will find the neutrals in the frame and do the balancing for us. And the longer we stay parked on the shot, the worse this problem becomes!

Chromatic adaptation is also one of the key reasons movies are shown in a fully blacked-out theater — we of course don’t want light sources which compete for the viewer’s attention, but we also need to ensure they’re not getting environmental cues which cause the eye to adapt to a different “white” than that of the screen.

Memory Colors

6 SkinTone Incorrect. Color Grading 101

SkinTone Correct. Color Grading 101
An example of displeasing skin tone (first image) versus pleasing skin tone. The average viewer may not know exactly what’s wrong with the first image, but they will undoubtedly feel the difference.

8 Foliage Incorrect

9 Foliage Correct
An example of displeasing foliage color (first image) versus pleasing foliage color (second image).

When it comes to human vision, all colors are not created equal. There are certain objects and environments we observe so often that we retain a highly specific mental image of what they should look like. These are called memory colors, and they include things like foliage, skies, and, most importantly, skin. When we’re presented with images of these objects which don’t match our internal memory color, we’re subconsciously repelled. This is an adaptation that runs far deeper than our personal mental “database” of these colors — it’s a trait that’s been selected by evolution. For our ancestors, it meant the ability to find healthy food, sense impending weather changes, and select the ideal mate.

This means that there are colors which deserve more attention than others. Your audience may not know what the color of a bedroom wall should be, but they’ll spot the wrong hue or saturation of a memory color every time. Understanding memory colors and prioritizing them in color is a vital concept to mastering pleasing images.

Closing

We’ve now covered the key aspects of the human vision system we’ll be referring back to throughout this series. If you’re like me, you may find learning these principles to be challenging at first, but once absorbed, they’ll prove well worth your time. Studying these concepts at the outset of learning color is like studying music theory when you begin to play an instrument: it’s tempting to skip to the hands-on stuff, and you can probably develop some decent chops without the foundational knowledge. But in both cases, sooner or later your growth is going to hit a wall, and the only option at that point is to go back to basics and re-train yourself with the proper concepts. Trust me when I tell you from experience that it’s far faster and more pleasurable to make this investment the first time around!

Now that we’ve got a fundamental grasp on human vision, we’re ready to do a deep dive on cameras in part 2, where we’ll break down how they work, how they differ from human vision, and how we can successfully navigate these differences.

What NOT to Say to an Actor

Something I am constantly thinking about and trying to improve is understanding how to be a good partner to my cast. As a director, how can I help them arrive at the best performance possible? Part of the challenge (and fun) is learning each performer’s process—since every actor is different, some may hate a certain thing while others will benefit from it.

Chatting with your cast before ever stepping on set is paramount to getting on the same page and understanding what makes them tick. To that end, something I’ve always done is, debrief with my cast after each day, or at the end of production, to find out what worked for them and what didn’t. This helps me to constantly evolve my approach. It’s that thought process that led us to this latest episode! Hearing directly from experienced actors on what does and doesn’t help is invaluable in our pursuit to be great partners for them in production.

The Actors

The Episode

Things that don't help

  • Saying Nothing
      • Actors love notes, even if that note is something small. Saying nothing will leave your actor uncertain. That uncertainty may allow some insecurity to creep in that will make it harder for them to do their job; or it could lead to them losing confidence in you as it shows you don’t understand the actor’s process.
  • Vague Feedback
      • When you are giving those notes, don’t be too vague or cryptic. Make your note specific and concise. Similar to saying nothing, being vague will likely leave your actor feeling as though you don’t know what you want. If that is the case, just tell them. If you are stuck, let them know—they are your partner in this. If you hide this from them, they will only lose trust in you. Bring them into your process, it’s why you hired them in the first place.
  • “What’s with your Face?” (Unconstructive criticism)
      • A general lack of empathy toward the actor’s position is a major problem with a lot of new directors. Without a good understanding of what it’s like to be under all the lights, in front of the lens, and stared at by everyone in the room, the odds are high that you will only make your cast’s job harder. The best way to stay away from horrible and insensitive notes like “what’s going on with your face?” is to get in front of the camera yourself. Do some acting, find out first hand what it feels like to be in those shoes. I guarantee that it will change the way you direct forever.
  • Bad attitude
      • A bad attitude from the director will trickle down to the entire cast/crew and make set-life miserable. The tone of the set starts at the top, heavily built by the director and lead cast. This is yet another way you are in partnership with them. Start on the right foot by taking the time to create an atmosphere where everyone feels safe to do their best work.

Never Do This!

  • Line reads
      • UNLESS your actor asks for them (which is rare), never try to impose YOUR performance onto your actor. You hired them to embody that role, make it their own, and bring their voice to it. They can’t do that if you are trying to give them yours. Of course, as always, there are exceptions to this, but be very cautious and make sure it is what your actor wants.
  • Being an A-Hole
      • Don’t be this. Never be this. It shouldn’t have to be said. To really be a good leader, you have to create a safe atmosphere for everyone to thrive in. Your job is to make sure you’ve constructed a working environment where each cast and crew member feels heard, seen, and able to do their best work. If you do this, they will charge into battle with you every single day!
  • Huffing and puffing
      • Actors are humans too. They aren’t your robots that perform seamlessly on command. Having empathy and realizing that there could be something in their life creating a block in that moment will allow you to be a good partner and help them get back on track and into the scene. Communication is key!
  • SEXIER!
      • Subjective notes that can be interpreted differently depending on who is reading them, will only cause problems. Once again, you could start losing your cast’s trust and leave them wondering “what does that mean?” Instead, do what the great John Badham suggests‚—instead of an adjective that could be lost in translation, give them something to play to, like an action or objective. Don’t tell them the end result—give them something they can use to get there through their own process.

Other Episodes on Acting

Writing & Directing Story Driven Horror

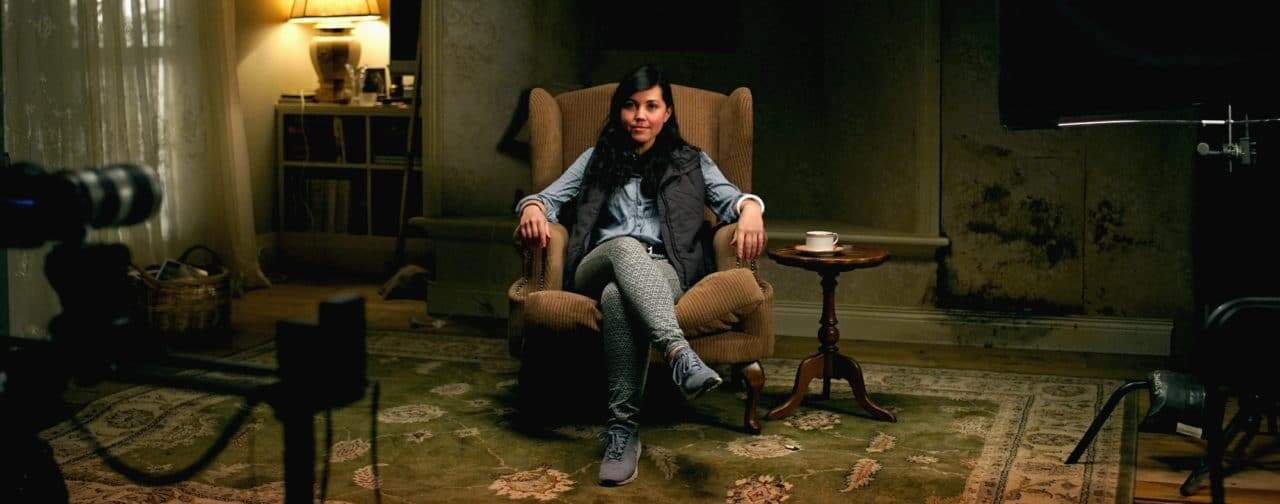
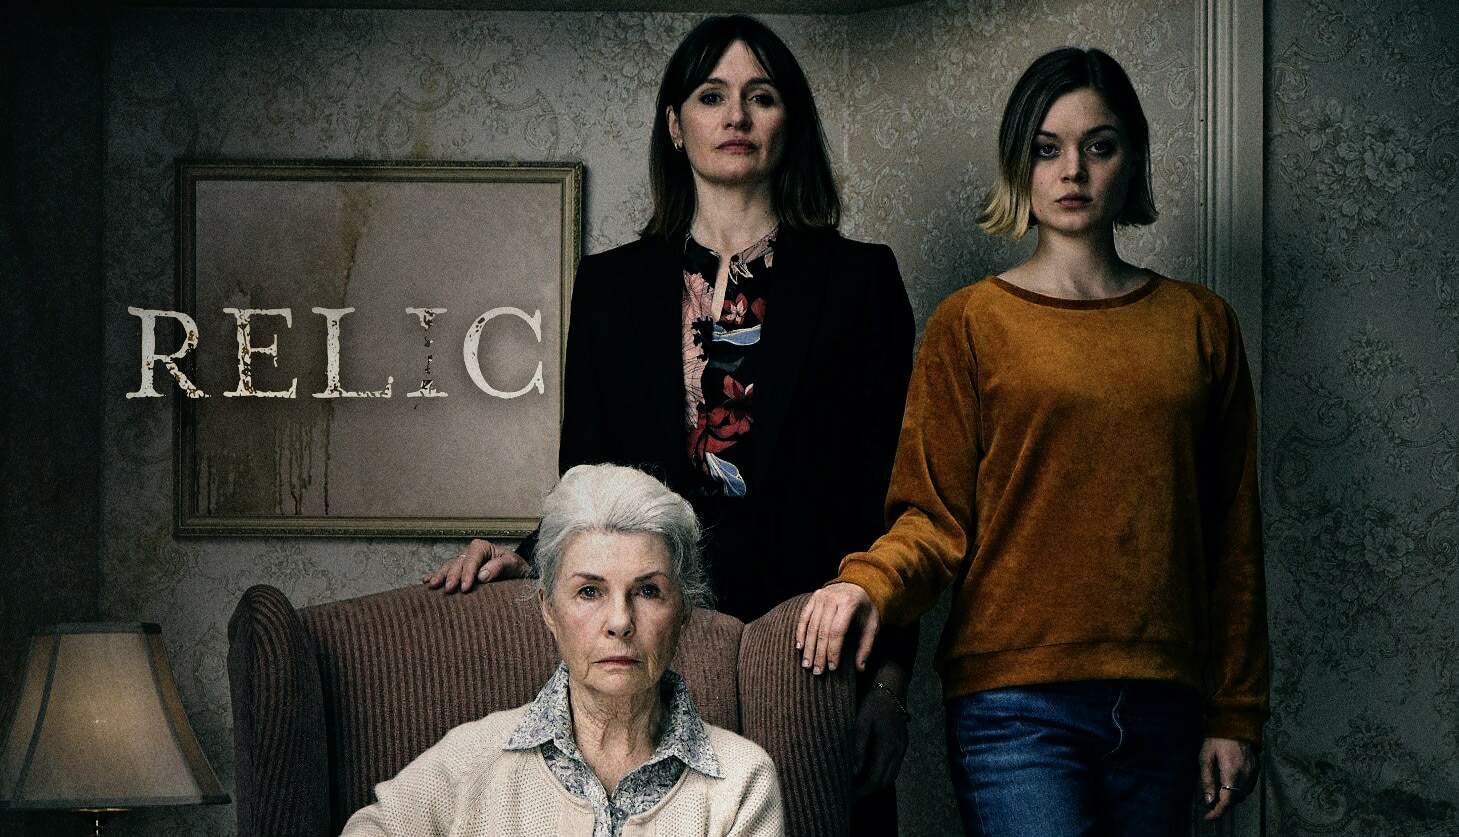
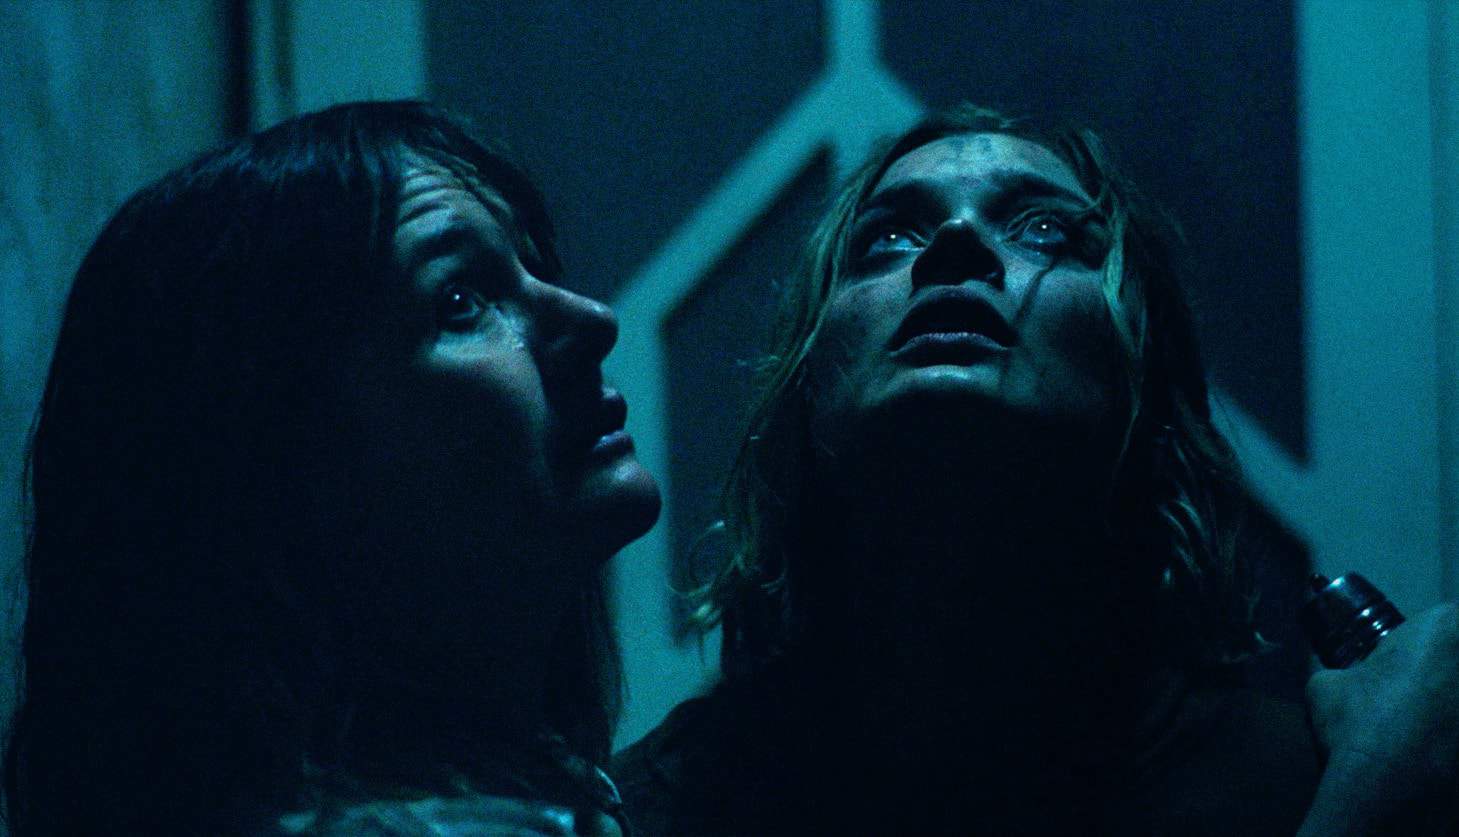
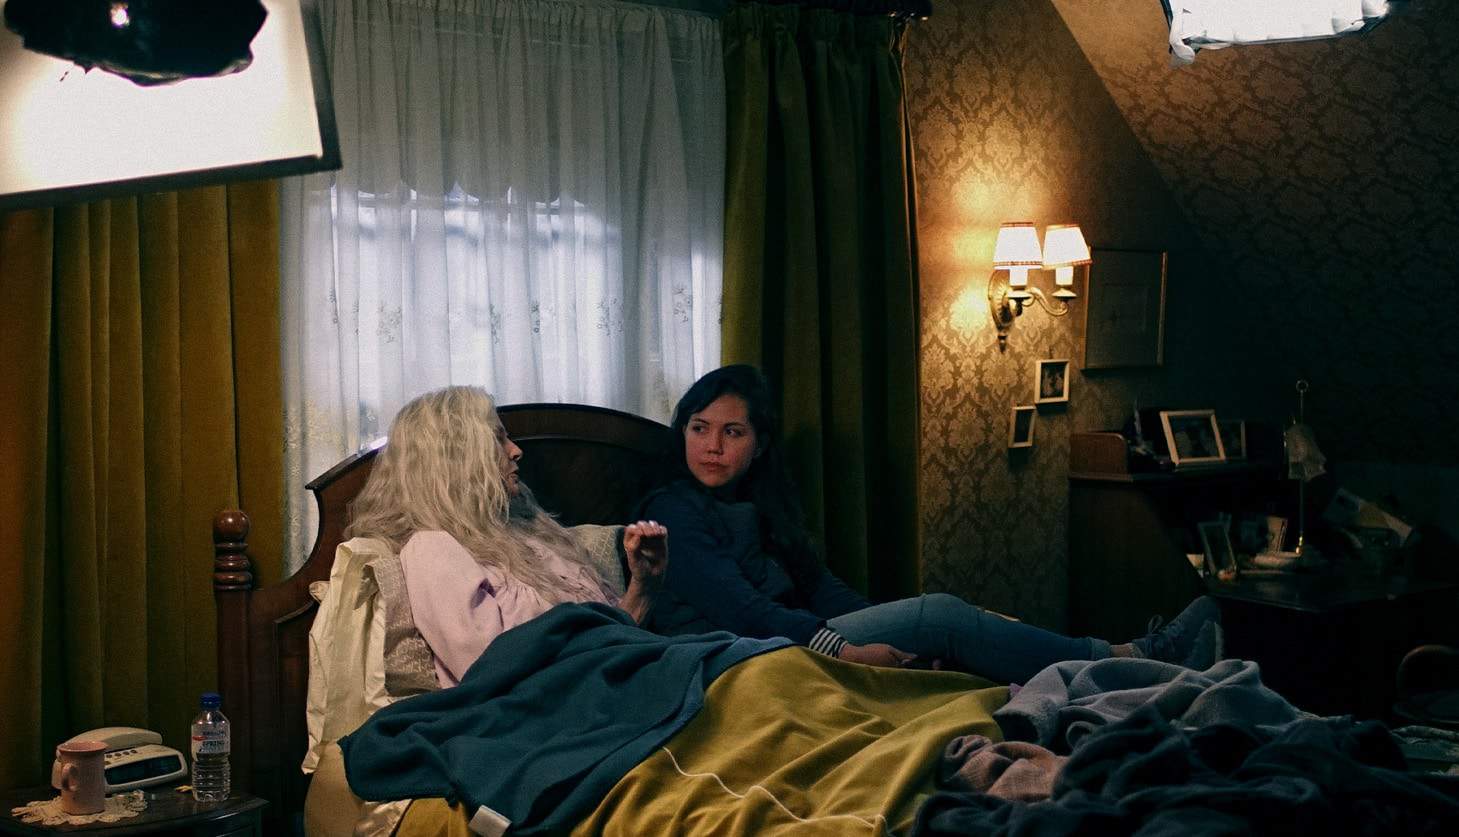
There’s perhaps no greater excitement for an aspiring filmmaker than to have their directorial debut receive mass acclaim and distribution. Relic is the directorial debut of Japanese-Australian writer/director filmmaker, Natalie Erika James. It’s a horror film anchored by its deeply emotional and honest themes, and masterfully co-written and directed by James.

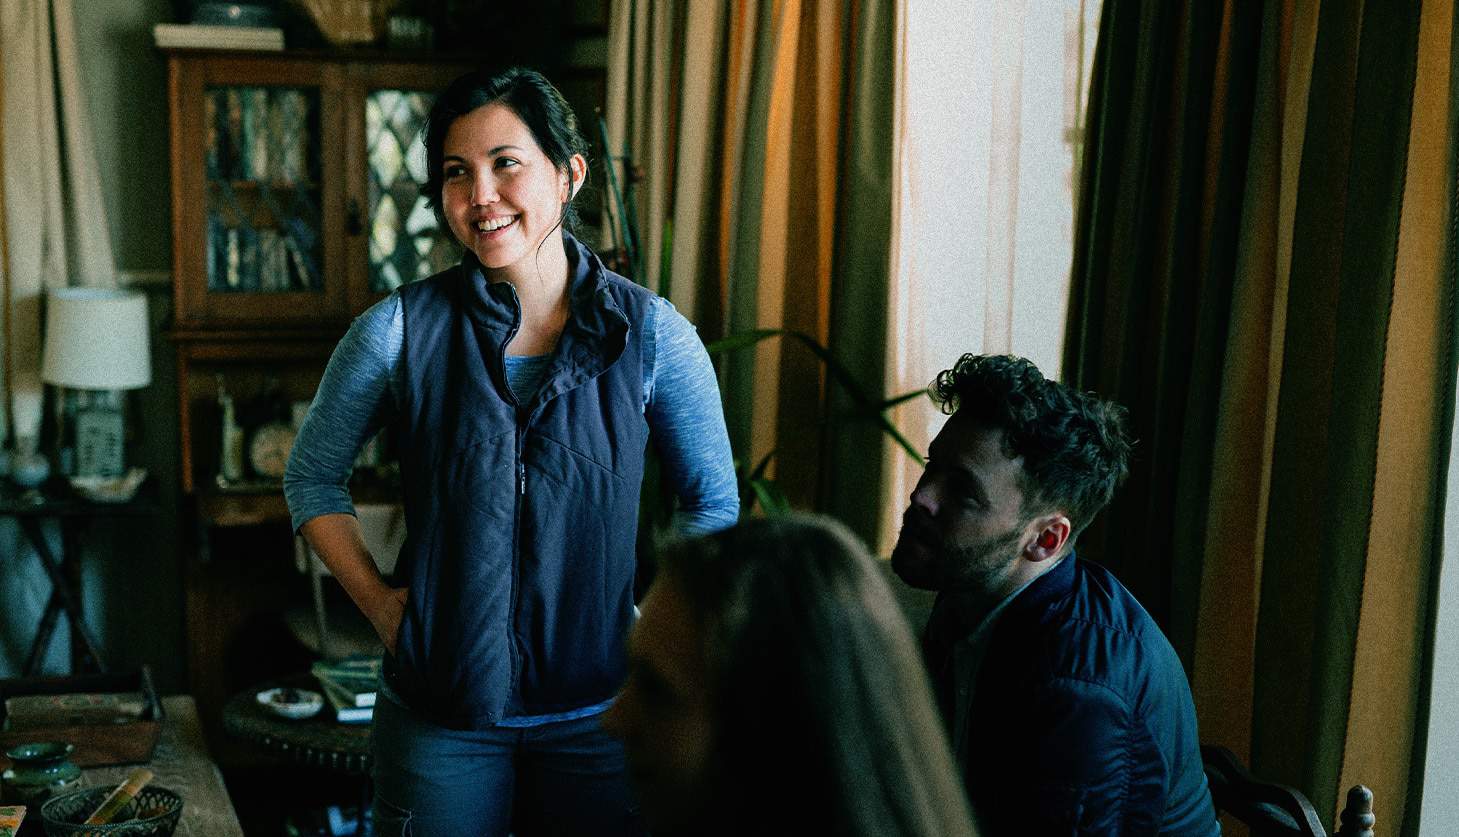
Released theatrically in drive-ins, and now available across most major streaming platforms, you’d never guess that Relic is Natalie’s first outing as a feature writer/director. In the episode of the Film Riot podcast, fresh off the experience of making the film, Natalie meets with Ryan to discuss her experience as a first-time writer/director, working with actors, and why she leaned into the horror genre to tell this specific and personal story. 

Get FREE high-quality stock video, music, and templates! No attribution or sign-up needed. Just visit mixkit.co and start downloading now!

Watch Natalie's films

PRODUced by ron dawson

Edited by Emily Connolly

Emotionally Impactful Cinematography w/ Jody Lee Lipes

As the cinematographer for such beautiful work as A Beautiful Day in the Neighborhood, Manchester by the Sea, and I Know This Much is True, Jody Lee Lipes brings an emotional honesty to all his work.

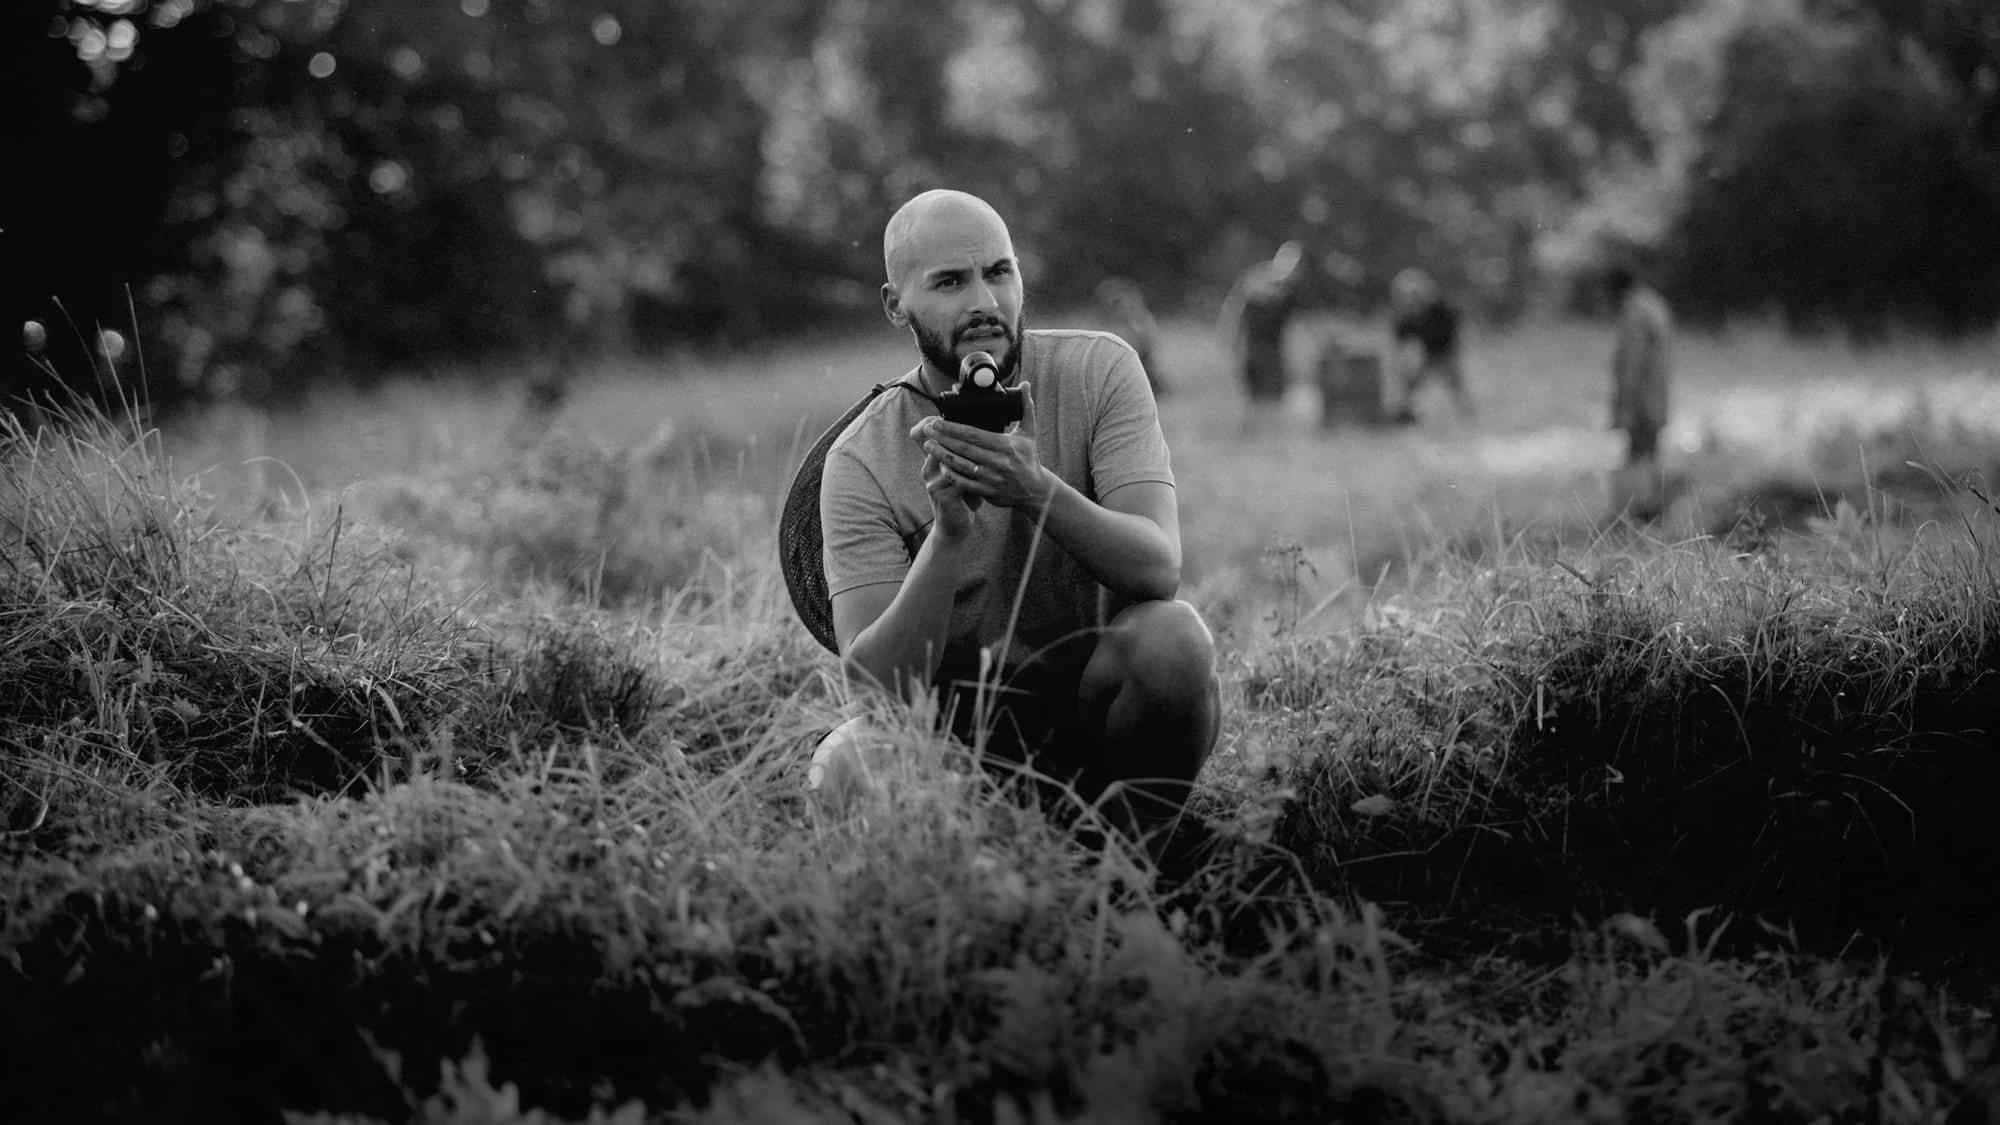
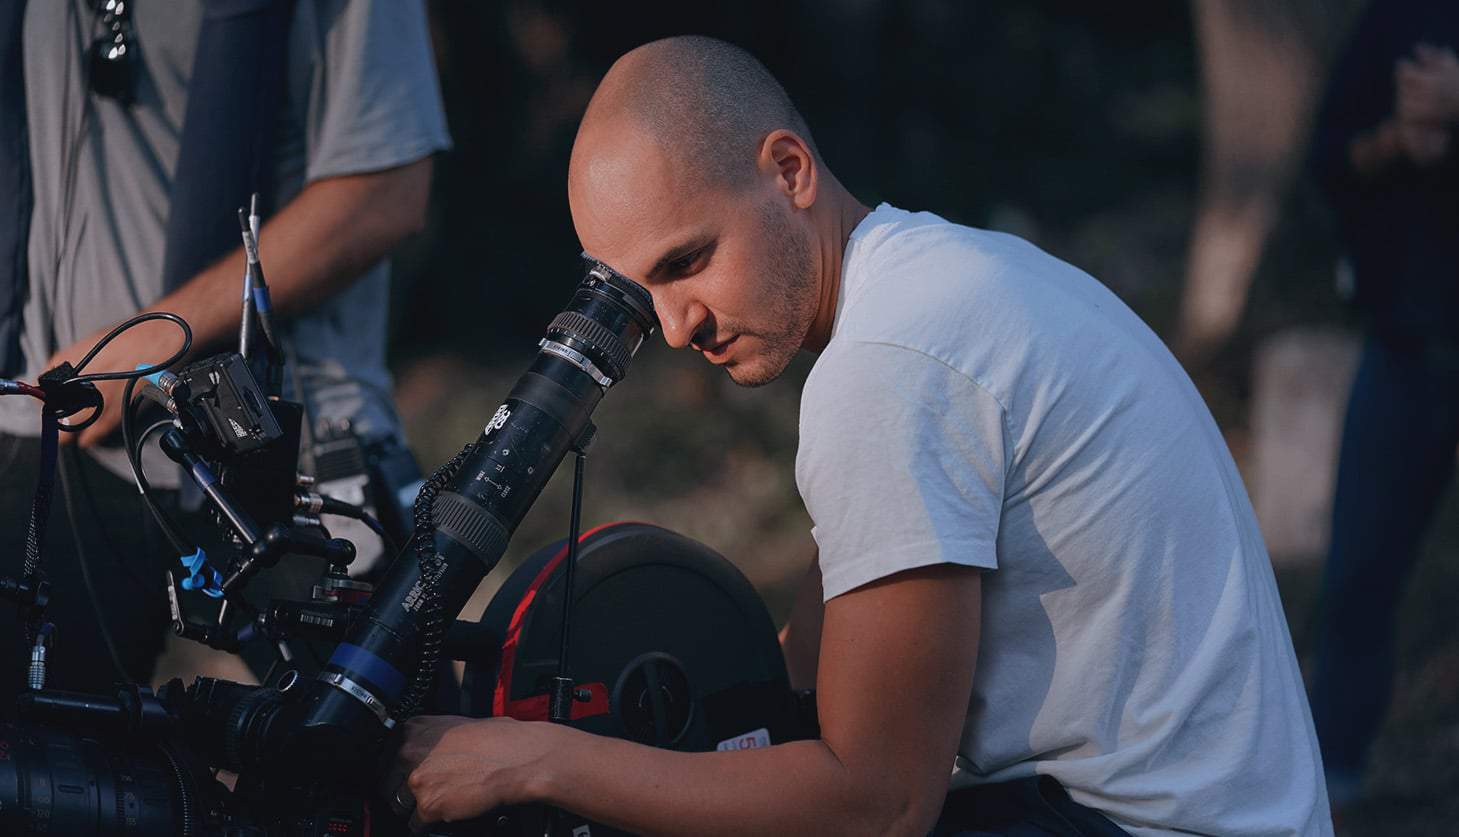
Of course, every element within the filmmaking process is a part of delivering on that honesty, with arguably two of the most important aspects being the performance and cinematography. Those two elements work together in a creative dance – if one is out of step with the other, the intention won’t land and the emotional impact would be lost. Imagine the scene in Contagion where Matt Damon’s character learns his wife has died, but with constant dolly moves and lens flares.

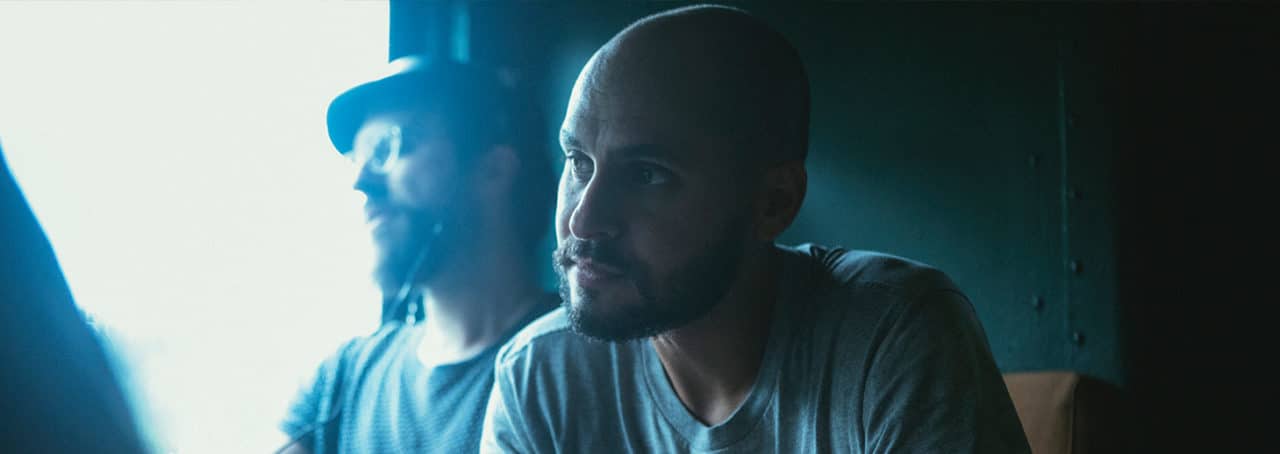
That emotional honesty is something that Jody pulls off with ease. Today he and Ryan chat about leaning into that meaning and honesty, working with technically difficult scenes (like the twinning in his latest HBO show), and what made him want to be a filmmaker.

More of Jody's work

PRODUced by ron dawson

Edited by Emily Connolly